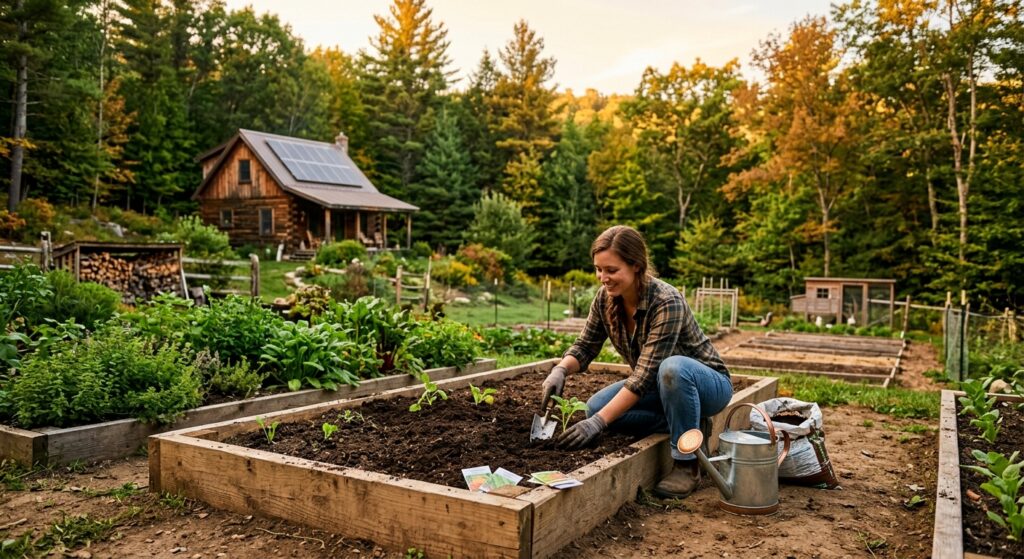
How to Start an Off-Grid Garden: The Complete Beginner Guide
Picture this: it’s mid-July, you’ve just moved onto your rural property, and you’re staring at a weedy patch of compacted clay wondering how you’re ever going to feed yourself from it. You bought the land. You have seeds. You have ambition. But nobody handed you a playbook — and the YouTube rabbit hole just sent you in six different directions. That’s where most first-timers hit their first wall.
Without a solid foundation, off-grid gardening turns into an expensive guessing game. People plant tomatoes in shade, skip soil prep, water randomly, and then wonder why they harvested a grocery bag worth of food after six months of work. They burn out, scale back, or give up entirely. The difference between a garden that feeds a family and one that barely feeds frustration is almost always planning — not effort.
This guide covers everything you need to know to start an off-grid garden the right way. You’ll learn how to pick the right site, build living soil without chemicals, choose the easiest vegetables for your first season, set up off-grid irrigation, control pests naturally, extend your season with low-cost tools, and set realistic expectations for year one. Let’s dig in.
Quick Answer: How to Start an Off-Grid Garden
Starting an off-grid garden comes down to six core steps: pick a sunny, level site with good drainage; build your soil before you plant; start with proven beginner crops; set up a simple water collection system; use companion planting and succession sowing; and protect plants from frost with row covers or cold frames. Most beginners can feed themselves significantly from a 1,000–1,500 sq ft garden by year two.
- Minimum sunlight: 6 hours of direct sun per day (8+ is ideal)
- Starter garden size: 400–600 sq ft for one person, 800–1,200 sq ft for two
- Best first crops: zucchini, green beans, kale, radishes, Swiss chard, tomatoes
- Water need: roughly 1 inch per week (about 0.6 gallons per sq ft)
- Realistic year-one yield: 30–50% of your food from the garden; 60–80% by year three
- Startup cost: $150–$400 for seeds, basic tools, compost, and row covers
Step 1 — Choosing the Right Site for Your Off-Grid Garden
Sunlight: The Non-Negotiable
Every vegetable garden needs at least 6 hours of direct sunlight daily — 8 to 10 hours is better for fruiting crops like tomatoes, peppers, and squash. Before you break ground anywhere, track sun patterns across your property for at least three days at different times. A free app like Sun Surveyor or the Lumos app lets you overlay sun angles on your camera view so you can see exactly where shade falls at 9 a.m., noon, and 4 p.m. Planting in the wrong spot is the single most common beginner mistake — and it cannot be fixed with more fertilizer.
Slope, Drainage, and Wind
A gentle south-facing slope (2–5% grade) is ideal — it drains well, warms up faster in spring, and catches maximum sun in the Northern Hemisphere. Avoid low spots where cold air pools on frosty nights (known as frost pockets); these can rob you of weeks at both ends of the season. If your site is exposed to prevailing winds, plan a windbreak — a fence, hedgerow, or even a row of Jerusalem artichokes can cut wind speed by 50% and dramatically reduce plant stress and soil moisture loss.
Proximity to Your Water Source
On an off-grid property, hauling water by hand gets old fast. Locate your garden as close as possible to your water collection point — rain barrel, pond, or spring. Every 50 feet of extra hose run is friction that will make you water less often than you should. If you’re choosing between two sites with similar sun, always pick the one closer to water.
Step 2 — Building Living Soil Without Chemicals
Why Soil Is Everything
Healthy soil is not just dirt — it’s a living ecosystem. One teaspoon of healthy garden soil contains more microorganisms than there are people on Earth. Those microbes break down organic matter, fix nitrogen, suppress disease, and make nutrients available to plant roots. Most rural properties start with compacted, depleted, or clay-heavy soil. The good news: you can transform it in one season using the no-till method.
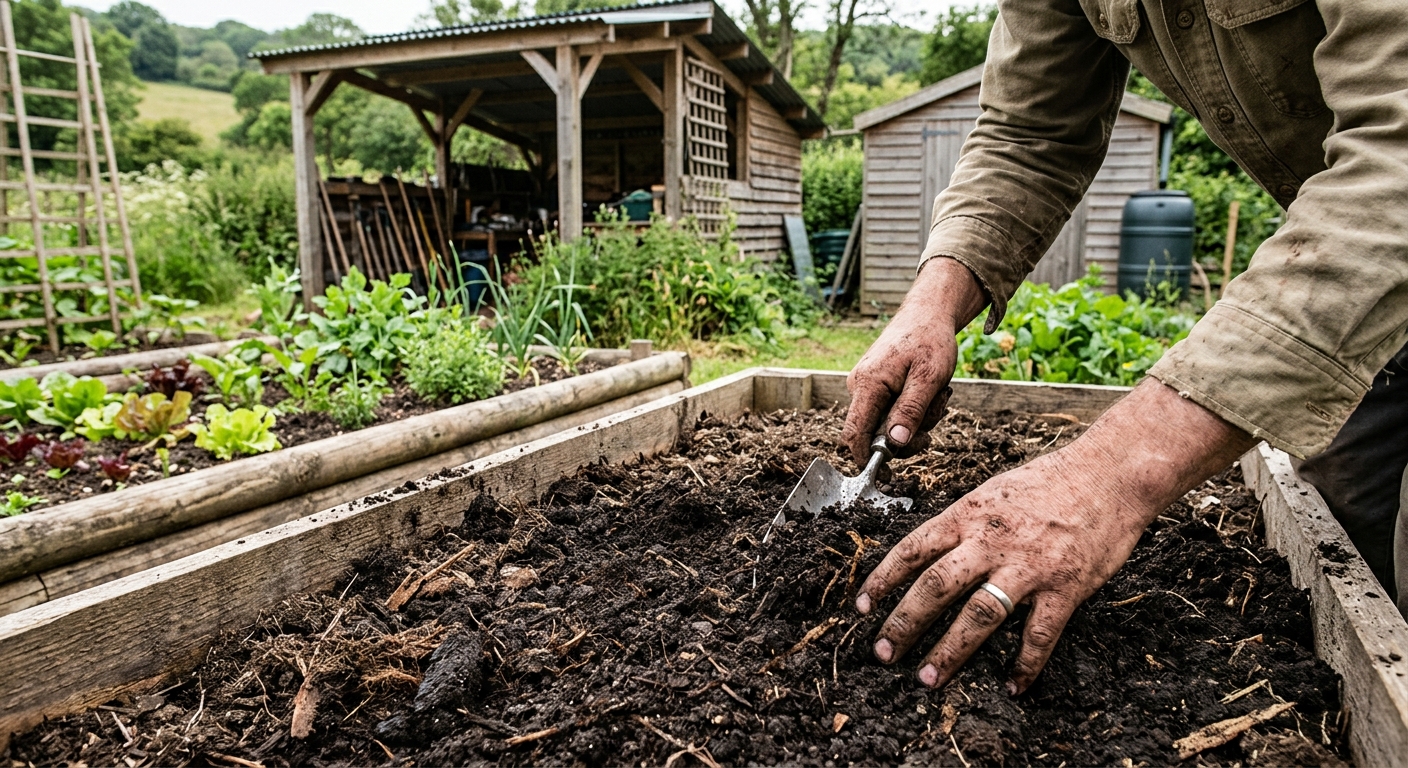
The No-Till Sheet Mulch Method
No-till gardening skips the rototiller entirely, preserving soil structure and microbial life. Here’s the basic process for a new bed:
- Mow or cut existing vegetation as low as possible.
- Lay cardboard (overlapped 6 inches at seams, no tape or staples) directly over the grass or weeds.
- Wet the cardboard thoroughly.
- Add 4–6 inches of compost, wood chips, or a mix of both on top.
- Let it sit for 4–6 weeks, or plant directly into the compost layer immediately for transplants.
This method smothers weeds, feeds worms, and creates a spongy, moisture-retentive growing medium fast. A cubic yard of finished compost costs $30–$60 delivered from a local landscaper, or you can build your own for free using kitchen scraps, wood ash, and garden waste over 3–6 months.
Raised Beds vs. In-Ground
Raised beds (typically 4 ft wide x 8–12 ft long, filled with a custom soil mix) warm up faster, drain better, and allow precise soil control. They’re ideal for rocky or heavily clay land. The downside is cost — lumber, hardware cloth, and fill soil can run $80–$200 per bed. In-ground beds improved with sheet mulching are essentially free and scale infinitely. Most experienced off-gridders use a hybrid: raised beds near the house for high-value crops like tomatoes and herbs, with in-ground beds for bulk staples like potatoes, squash, and beans.
Step 3 — The 10 Best Beginner Vegetables for a Self-Sufficient Garden
Choosing the right crops for your self sufficient garden is just as important as soil prep. Start with proven producers that tolerate imperfect conditions, yield heavily, and can be preserved easily. Here are ten crops that should be in every beginner’s survival garden.
| Vegetable | Days to Harvest | Yield per 10 ft Row | Why It’s Great for Beginners |
|---|---|---|---|
| Zucchini | 50–60 | 15–20 lbs | Prolific, low maintenance, forgiving of poor soil |
| Green Beans (bush) | 50–60 | 10–12 lbs | No staking, easy to can or freeze |
| Kale | 55–65 | 8–10 lbs | Frost-hardy, harvest leaves continuously |
| Radishes | 22–30 | 4–5 lbs | Fastest crop you can grow — great confidence builder |
| Swiss Chard | 50–60 | 8–12 lbs | Tolerates heat and light frost, cut-and-come-again |
| Tomatoes (indeterminate) | 70–85 | 25–40 lbs | High yield, can, sauce, or dry for long storage |
| Winter Squash | 80–110 | 30–50 lbs | Stores 3–6 months without refrigeration |
| Potatoes | 70–120 | 20–30 lbs | Dense calories, stores well in a root cellar |
| Lettuce (loose-leaf) | 30–45 | 3–5 lbs | Cut-and-come-again, grows in partial shade |
| Garlic | 240–270 (planted fall) | 3–5 lbs | Plant once, harvest in June, stores 8–10 months |
Step 4 — Water: Off-Grid Irrigation on a Budget
How Much Water Does Your Garden Actually Need?
Most vegetables need about 1 inch of water per week. For a 500 sq ft garden, that’s roughly 300 gallons per week during dry spells. In off-grid settings, hauling or pumping that volume is a real consideration. The key is reducing evaporation and delivering water directly to roots — not to the air or the weeds.
Rainwater Barrel Systems
A single 55-gallon rain barrel connected to a downspout from a small shed or cabin roof can collect 0.5 gallons per square foot of roof area per inch of rain. A 400 sq ft roof in a region that gets 2 inches of rain monthly gives you 400 gallons — more than enough for a small garden. Food-grade 55-gallon barrels cost $20–$40 used from craigslist or restaurant suppliers. Link two or three barrels in series using a bulkhead fitting and overflow hose to multiply storage for under $100 total.
Gravity-Fed Drip Irrigation
Elevate your rain barrel at least 18–24 inches above ground level on a sturdy platform. This creates enough pressure (roughly 1 PSI per 2.3 feet of elevation) to run a simple drip tape system. A 100 ft roll of drip tape (Rainbird T22 or DripWorks half-inch poly tubing) costs $15–$25 and waters a 10 x 10 ft bed with no pumps, no electricity, and virtually no maintenance. Gravity drip is the single most efficient irrigation method for an off-grid garden — it waters the root zone directly, reduces fungal disease, and uses 30–50% less water than overhead watering.
Mulch: Your Secret Water Saver
A 3–4 inch layer of wood chip or straw mulch around your plants reduces soil moisture evaporation by up to 70% and can cut your watering frequency in half during summer. Free wood chip mulch is available in most areas through ChipDrop.com — arborists drop loads of fresh chips at no charge in exchange for skipping the dump fee.
Step 5 — Companion Planting and the Three Sisters Method
Companion planting is the practice of growing mutually beneficial plants together to improve yields, deter pests, and build soil fertility. The most famous example — and the most useful for a survival garden for beginners — is the Three Sisters: corn, beans, and squash grown together.
- Corn grows tall and provides a trellis for climbing beans.
- Beans fix atmospheric nitrogen into the soil, feeding the corn and squash.
- Squash spreads low and wide, shading the soil, reducing weeds, and retaining moisture.
Plant corn first in a block (not a row — corn is wind-pollinated and needs density). Once corn is 4–6 inches tall, plant beans around each stalk. One week later, plant squash around the perimeter of the block. This method was developed by Native American farmers over thousands of years and has been validated by modern agricultural research — yields from Three Sisters plantings can exceed monoculture yields by 20–30% in the same space.
Other powerful companion pairs: tomatoes and basil (basil repels aphids and whiteflies), carrots and onions (onion smell confuses carrot fly), and nasturtiums with almost anything (they attract aphids away from food crops as a sacrificial trap plant).
Step 6 — Succession Planting for a Continuous Harvest
One of the biggest beginner mistakes is planting everything at once and then drowning in zucchini for three weeks before everything dies. Succession planting solves this by staggering plantings every 2–3 weeks so harvests are spread across the season.
For crops like lettuce, spinach, radishes, and bush beans — sow a short row every 14–21 days from your last frost date through midsummer. For tomatoes and peppers, start a second batch of transplants indoors 3–4 weeks after your first to replace plants that slow down in late summer. For root vegetables like beets and carrots, plant a new row every 3 weeks from spring through late summer. A well-planned 600 sq ft succession garden can produce fresh vegetables continuously from April through November in USDA zones 5–8.
Step 7 — Pest Control Without Chemicals
Off-grid gardens attract pests — but they also attract the predators that eat those pests, if you give them a chance. The goal is ecosystem balance, not elimination. Here are the most effective chemical-free pest control methods:
- Row covers (Agribon AG-19): Lightweight floating row cover creates a physical barrier against cabbage worms, cucumber beetles, and squash vine borers. Leave in place until flowering for cucurbits, permanent for brassicas. A 5 x 25 ft row cover costs about $8 at Johnny’s Seeds or Amazon.
- Diatomaceous earth: Dust around the base of plants to deter slugs, beetles, and crawling insects. Food-grade DE is safe for humans and pets. Reapply after rain.
- Neem oil spray: An OMRI-listed organic product, neem oil disrupts the life cycle of soft-bodied insects like aphids and spider mites. Mix 2 tsp neem oil + 1 tsp dish soap per quart of water, spray leaves in the evening.
- Attract beneficial insects: Plant dill, fennel, yarrow, and phacelia near your garden. These plants attract ladybugs, lacewings, and parasitic wasps that prey on aphids and caterpillars far more effectively than any spray.
- Hand-pick large pests: For tomato hornworms, squash bugs, and Colorado potato beetles — daily scouting and hand removal is the most reliable method. Bring a bucket of soapy water.
Step 8 — Season Extension: Row Covers and Cold Frames
Extending your growing season by 4–6 weeks at each end can dramatically increase your total yield without expanding your garden size. Two tools make this possible at low cost.
Row Covers
The same Agribon AG-19 row cover used for pest control also provides 2–4°F of frost protection. A heavier weight, AG-30, provides up to 6°F of protection — enough to keep greens producing through light freezes in most zones. Drape over wire hoops (9-gauge galvanized wire bent into 18-inch arches, spaced every 3 feet) and pin edges with soil, rocks, or garden staples. Cost: about $0.10–$0.15 per sq ft.
Cold Frames
A cold frame is essentially an unheated mini-greenhouse: a box with a transparent lid (old storm windows work perfectly) that traps solar heat during the day and radiates it slowly at night. A 2 x 4 ft cold frame built from scrap lumber and a salvaged window costs nearly nothing and can extend your growing season by 4–8 weeks. In zones 6–8, a cold frame lets you grow spinach, arugula, mache, and carrots all winter. Orient the lid toward the south at a 10–15 degree angle to maximize solar gain.
Seed Saving: The Off-Grid Garden Skill That Pays Forever
Buying seeds every year defeats part of the purpose of an off-grid garden. Learning to save seeds from open-pollinated and heirloom varieties breaks the cycle. Start with the easiest crops: tomatoes, beans, peas, and lettuce. Let a few plants fully mature and dry on the vine rather than harvesting for eating. Collect seeds, let them dry on a paper plate for 1–2 weeks, and store in labeled paper envelopes inside a sealed jar with a silica gel packet in a cool, dark location. Properly stored tomato and bean seeds remain viable for 3–5 years. Avoid saving seeds from hybrid (F1) varieties — the offspring will not grow true to type. Look for « OP » or « heirloom » on seed packets. Good sources: Baker Creek Heirloom Seeds, Seed Savers Exchange, and Southern Exposure Seed Exchange.
First-Year Realistic Expectations
Year one is a learning year. You will make mistakes — and that’s exactly how it’s supposed to work. Here is an honest breakdown of what to expect:
- Soil: Even amended soil won’t be at peak fertility in year one. Expect lower-than-ideal yields on heavy or sandy soils. Add compost aggressively; it gets better every season.
- Yield: A beginner gardener in year one typically harvests enough to meaningfully reduce grocery bills — maybe 20–40% of produce needs. By year two or three, 60–80% is achievable on 1,000–1,500 sq ft.
- Pests: You will lose some plants. Some beetles will appear before you know their name. This is normal. Keep notes in a garden journal — the most valuable tool a new gardener owns.
- Time: Budget 30–60 minutes per day during peak season for a 500–800 sq ft garden. Most of that time is satisfying — but plan for it honestly.
- Wins: The crops almost guaranteed to succeed in year one are zucchini, kale, Swiss chard, radishes, green beans, and potatoes. Lead with these for confidence and food security.
🌱 Want a Proven Blueprint?
Most off-grid gardeners learn by trial and error — but you don’t have to. The Self-Sufficient Backyard gives you a step-by-step plan to grow a year’s worth of food on just 1/4 acre, including companion planting charts and season extension techniques.
*Affiliate link — we may earn a commission at no cost to you.
The Bottom Line
Starting an off-grid garden is one of the most empowering things you can do for your food security and your homestead. The foundation is simple: choose a site with 6+ hours of sun and good drainage, build your soil with no-till sheet mulching and compost, start with productive beginner crops, set up a gravity-fed drip system from a rain barrel, and use companion planting and succession sowing to stretch your harvest across the full season. None of this requires a big budget — it requires knowledge, consistency, and a willingness to learn from your land.
If you want to shortcut the trial-and-error curve, The Self-Sufficient Backyard is a resource worth checking out — it walks you through growing a full year’s worth of food on a quarter acre with detailed planting schedules, companion planting charts, and preservation guides that take years of experience and put them in one place.
Have questions about your specific situation? Drop them in the comments below — we read every one. If this guide helped you, share it with someone planning their off-grid setup.