How to Wire a 12V Off-Grid Solar System: Complete Beginner Guide
A 12V solar system is where most people start, and for good reason. The components are cheap, the voltage is low enough to be forgiving, and a modest setup will run lights, a fan, a laptop, and a small fridge indefinitely. But wiring order matters, and wire sizing matters even more. I have been called out to three cabin fires in eight years, and every one traced back to an unfused battery cable.
This guide walks through a complete 12V build in the order you should actually assemble it.
The Five Components You Need
Every off-grid solar system, from a 100W camper setup to a 10kW homestead, uses the same five building blocks:
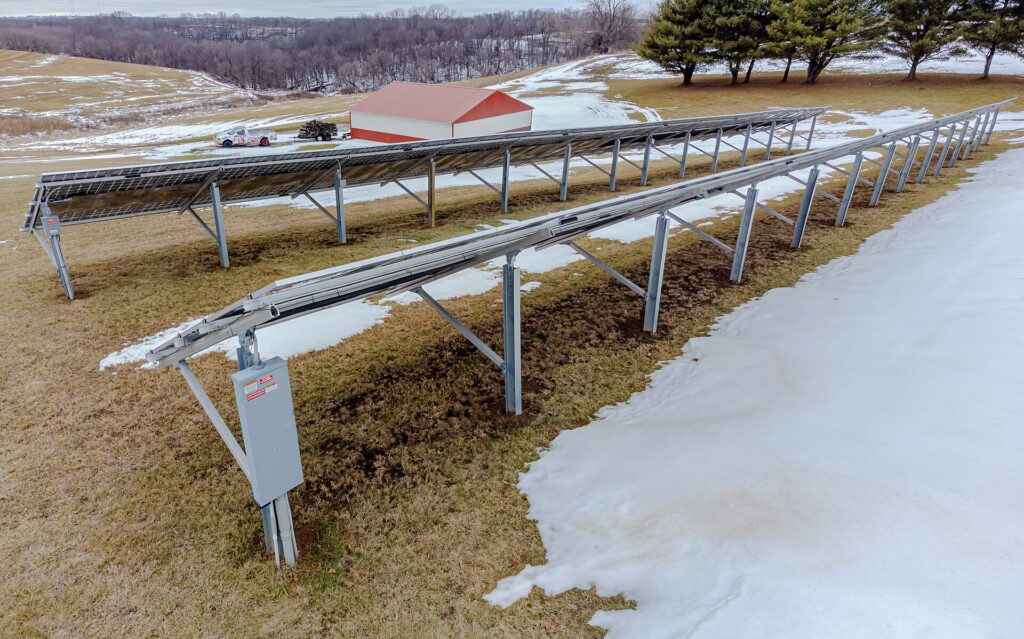
- Solar panels — convert sunlight to DC electricity. For a 12V system, use panels rated 12V nominal (roughly 18–22V open circuit) or wire higher-voltage panels in series into an MPPT controller.
- Charge controller — regulates panel output so it charges the battery correctly instead of cooking it. PWM is cheaper; MPPT harvests 15–30% more energy and is worth the money above about 200W.
- Battery bank — stores energy for night and cloudy days. This is the heart of the system and where most of your budget goes.
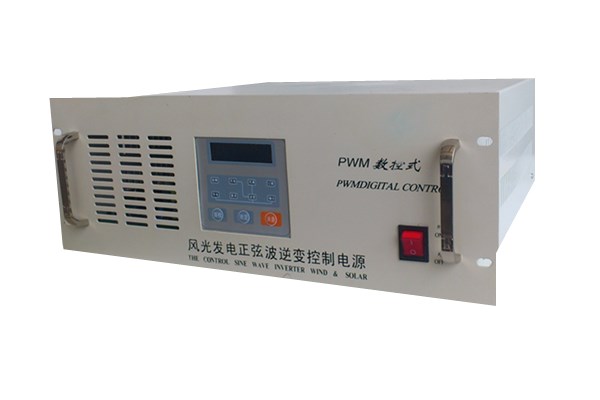
- Inverter — converts 12V DC to 120V AC for normal household appliances. Skip it entirely if you only run DC loads.
- Fuses and disconnects — protect the wiring. Not optional. Not ever.
Step 1: Size the System Before You Buy Anything
Add up your daily watt-hours. A 10W LED bulb running 5 hours is 50Wh. A 45W 12V fridge running roughly 8 hours a day (compressors cycle) is about 360Wh. Add everything, then add 25% for inefficiency.
A realistic small cabin comes to 600–900Wh per day. As a rough rule:
- Panel wattage = daily Wh divided by 3 (assumes about 3 usable sun-hours in winter at northern latitudes; use 4–5 in the southwest).
- Battery capacity = daily Wh multiplied by 2 or 3 for cloudy-day reserve, then divided by 12 to get amp-hours.
For 800Wh per day: roughly 270W of panels and a 130–200Ah battery bank. Round up to 300W of panels and 200Ah of storage.
Step 2: Mount the Panels and Leave Them Disconnected
Panels produce voltage the moment light hits them. There is no on switch. Mount them first, but leave the MC4 connectors unmated and the wiring open until the rest of the system is built. If you must handle live panel leads, cover the panels with an opaque tarp.
Face true south in the northern hemisphere, not magnetic south. Tilt angle roughly equal to your latitude is a good year-round compromise; add 15 degrees if winter performance matters most, which it usually does off-grid.
Step 3: Wire the Battery Bank
Connect batteries before anything else, because the battery is the reference point the entire system builds around.
- Parallel (positive to positive, negative to negative) keeps 12V and adds capacity. Two 100Ah batteries in parallel give 12V 200Ah.
- Series (positive of one to negative of the next) adds voltage. Two 6V golf cart batteries in series give 12V.
Use identical batteries of the same age and chemistry. Mixing a new battery with a three-year-old one drags both down to the weaker one performance. Use cables of identical length for every parallel connection so current splits evenly, and take your main positive from one end of the bank and your main negative from the opposite end.
Step 4: Install the Battery Fuse First
This is the step people skip. A 12V 200Ah lithium bank can deliver several thousand amps into a dead short. A dropped wrench across the terminals will vaporize metal and start a fire in under a second.
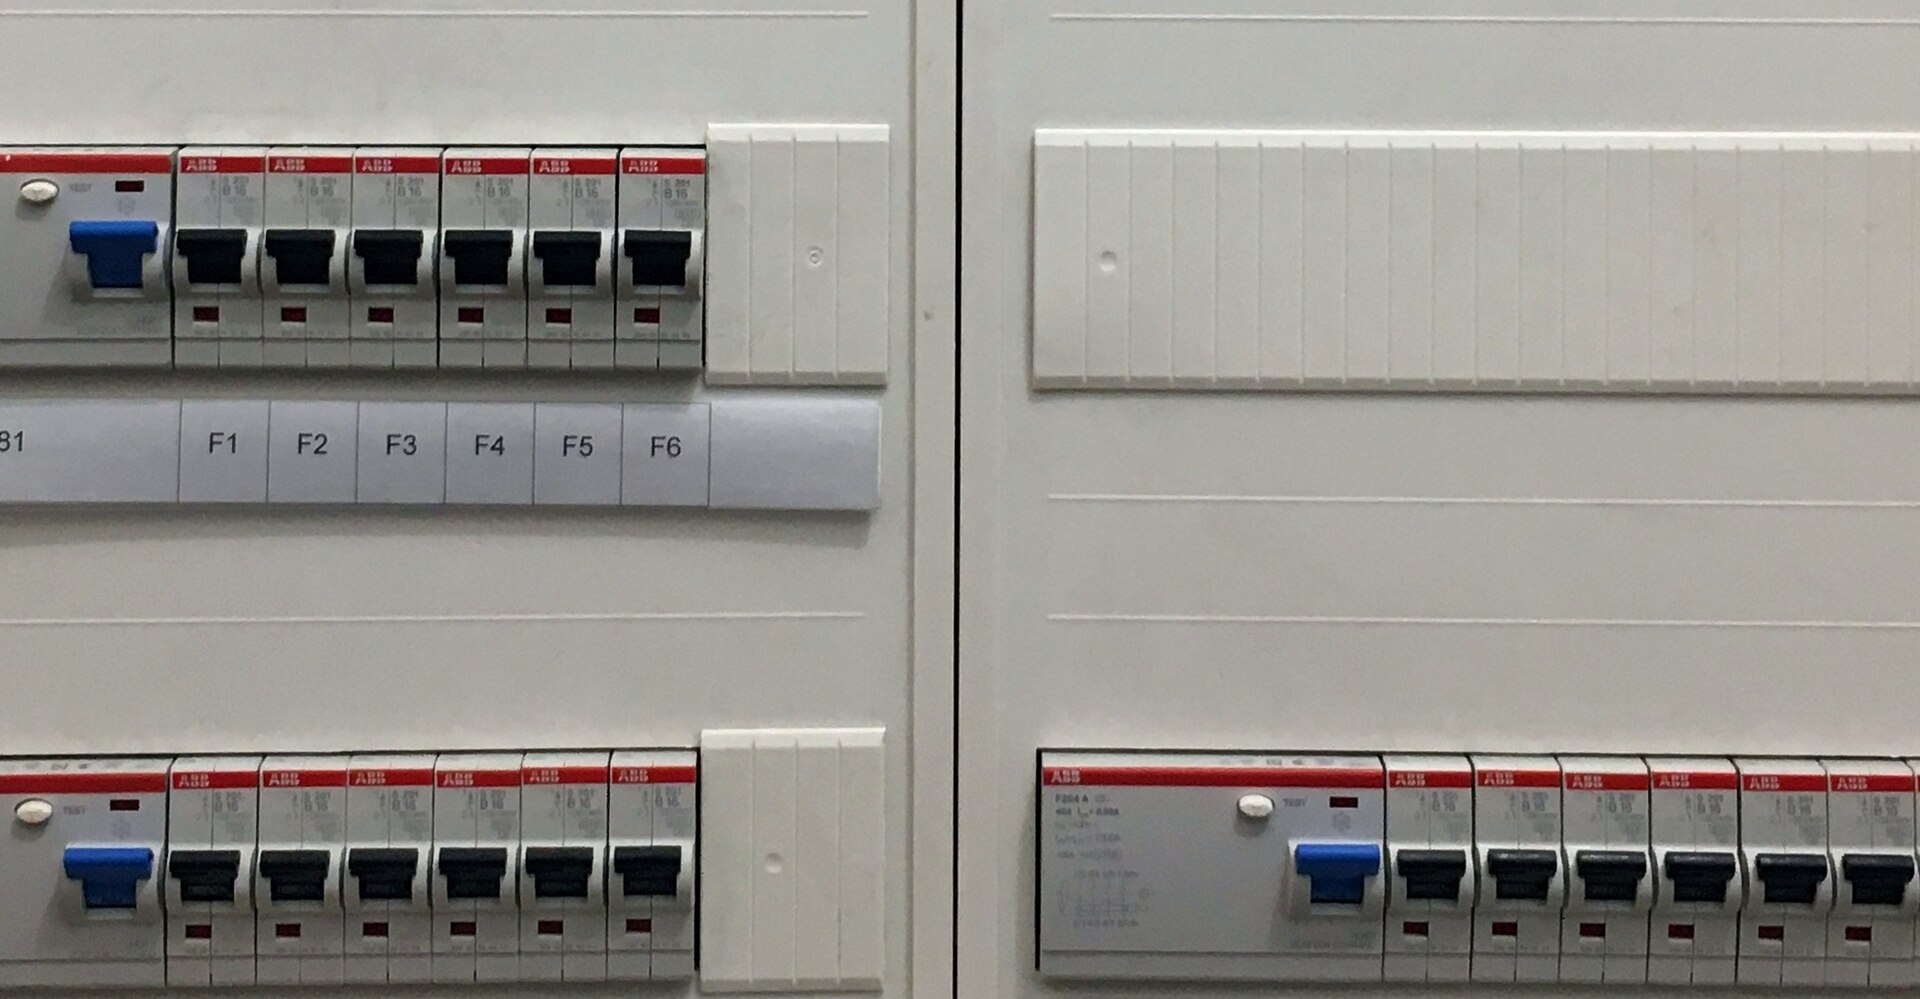
Install a Class T fuse (for lithium) or an ANL fuse (acceptable for lead-acid) within 18 inches of the battery positive terminal, before any other connection. Size it to the wire ampacity, not the load. Common pairings:
- 4 AWG cable → 100–125A fuse
- 2 AWG cable → 150–175A fuse
- 1/0 AWG cable → 250–300A fuse
Add a battery disconnect switch after the fuse so you can kill the whole system for maintenance.
Step 5: Charge Controller Before Panels
Connect the charge controller to the battery first, then connect the panels to the controller. Reversing this order destroys MPPT controllers, because the controller needs to read battery voltage to decide whether it is running a 12V or 24V system. Power it from the panels first and it guesses wrong or simply fails.
Correct order every time:
- Controller battery terminals → battery (through a 30–60A fuse)
- Controller wakes up, displays battery voltage
- Controller PV terminals → solar panels
- Charging current appears on the display
Step 6: Wire Size Is Not Optional
At 12V, current is ten times higher than it would be at 120V for the same power. A 1000W load draws 8.3A at 120V but 83A at 12V. Undersized wire at that current gets hot, drops voltage, and eventually melts insulation.
Target under 3% voltage drop. Practical sizing for short runs:
- Battery to 1000W inverter: 2 AWG minimum, 1/0 AWG preferred
- Battery to charge controller (30A): 8 AWG for runs under 10 feet
- Panel to controller (typical 20A): 10 AWG
- 12V DC branch circuits (lights, fans): 14 AWG
Use fine-stranded marine or welding cable rather than solid household wire. It flexes without work-hardening and handles vibration. Crimp lugs properly with a hydraulic crimper and seal with adhesive-lined heat shrink; a loose crimp is a resistance heater.
Step 7: The Inverter and AC Side
The inverter connects directly to the battery bank through its own appropriately sized fuse, never through the charge controller load terminals. Controller load outputs are typically rated 20–30A, far below inverter draw.
Buy a pure sine wave inverter. Modified sine wave is cheaper but runs induction motors hot, buzzes through audio equipment, and damages some CPAP machines and medical devices. The price gap has narrowed to the point where modified sine is rarely worth it.
Keep inverter cables as short as physically possible. Every foot of 12V cable between battery and inverter costs you voltage under load.
Step 8: Ground the System
Bond the negative busbar to a grounding rod driven at least 8 feet into the earth, and bond panel frames and mounting rails to the same ground. This protects against lightning-induced surges and gives fault current a path that is not you.
Ground the system at exactly one point. Multiple ground bonds create ground loops that cause strange, hard-to-diagnose faults.
Commissioning Checklist
- Verify battery voltage at rest (12.6–12.8V for a full lead-acid bank, 13.2–13.4V for lithium).
- Check charge controller shows correct battery voltage and system voltage.
- Confirm panels are producing: controller should show PV voltage and charging amps in daylight.
- Test each fuse location by pulling and reinstalling; confirm circuits die and recover.
- Run the inverter under a real load and check for voltage sag — more than a volt of drop means your cables are undersized.
- Check every connection by hand after one week of operation. Thermal cycling loosens terminals.
Five Mistakes That Cause Most Failures
- No battery fuse. The single most common and most dangerous omission.
- Connecting panels to the controller before the battery. Kills MPPT units.
- Undersized inverter cable. Causes voltage sag, nuisance shutdowns, and hot terminals.
- Mixing old and new batteries. Guarantees premature failure of the whole bank.
- Running the inverter off controller load terminals. Overloads the controller instantly.
Final Thoughts
A 12V system done right is boring, and boring is the goal. Fuse every conductor leaving the battery, size wire for the current rather than the price, and connect components in the correct order. Once commissioned, a well-built 12V setup needs nothing more than a terminal check twice a year and a panel wipe each spring.
If you are still deciding on system size, start with our guide on how to size a solar panel system, then come back here to wire it.
- Solar array-2.jpg — Wikideas1, CC0
- 2KW wind&solar hybrid controller with inverter.jpg — Senlin Yang, CC BY-SA 3.0
- ABB 230V 16A fuses in fuse box in German shop, 2024.jpg — Pittigrilli, CC0
Images via Wikimedia Commons.
Marcus Reid
Founder & Editor, OffGridSage
Marcus founded OffGridSage to bring practical off-grid knowledge together in one place. Guides are built from official and expert sources (NREL, the EPA, the USDA and university extension services), manufacturer documentation and reader feedback, and are updated when information changes.


