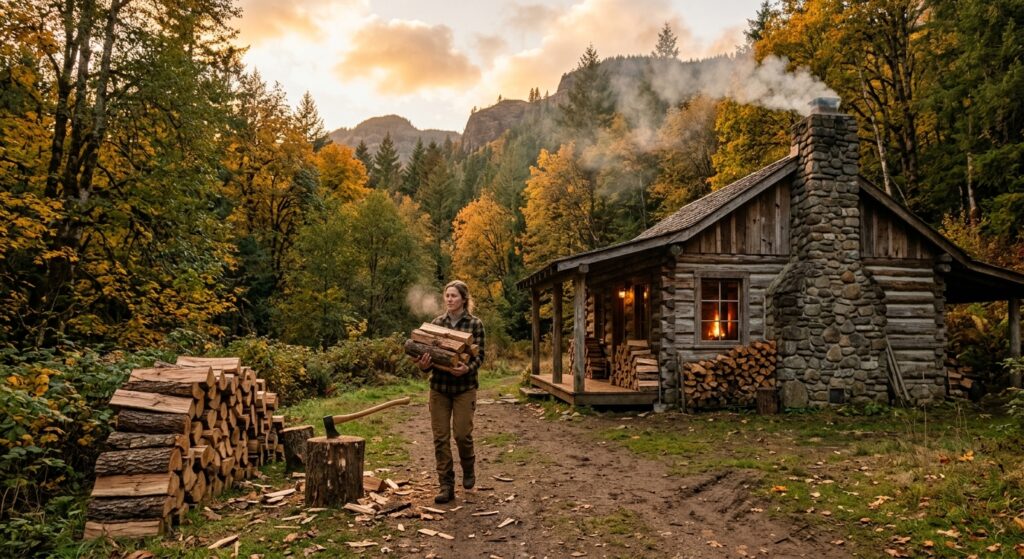
The biting chill of winter doesn’t have to mean a reliance on the grid. For over a decade, I’ve lived, breathed, and *heated* off-grid, learning firsthand how to efficiently and safely heat home without electricity winter. Whether you’re preparing for an extended power outage, building a fully self-sufficient homestead, or simply looking to reduce your carbon footprint, understanding your options for warmth is paramount. This comprehensive guide, born from my personal trials and triumphs in sub-zero temperatures, will walk you through seven reliable methods, offering detailed insights, product recommendations, and crucial advice to keep your dwelling cozy and safe when the grid goes dark.
From the primal comfort of a wood stove to the ingenious efficiency of a rocket mass heater, and the silent power of passive solar design, we’ll explore each technique with the practical, hands-on knowledge you need. I’ve personally installed, maintained, and relied on many of these systems, enduring everything from mild mountain winters to week-long blizzards. My aim is to equip you with the knowledge to make informed decisions, ensuring you remain warm, comfortable, and independent, no matter what winter throws your way.
Why This Matters / Background
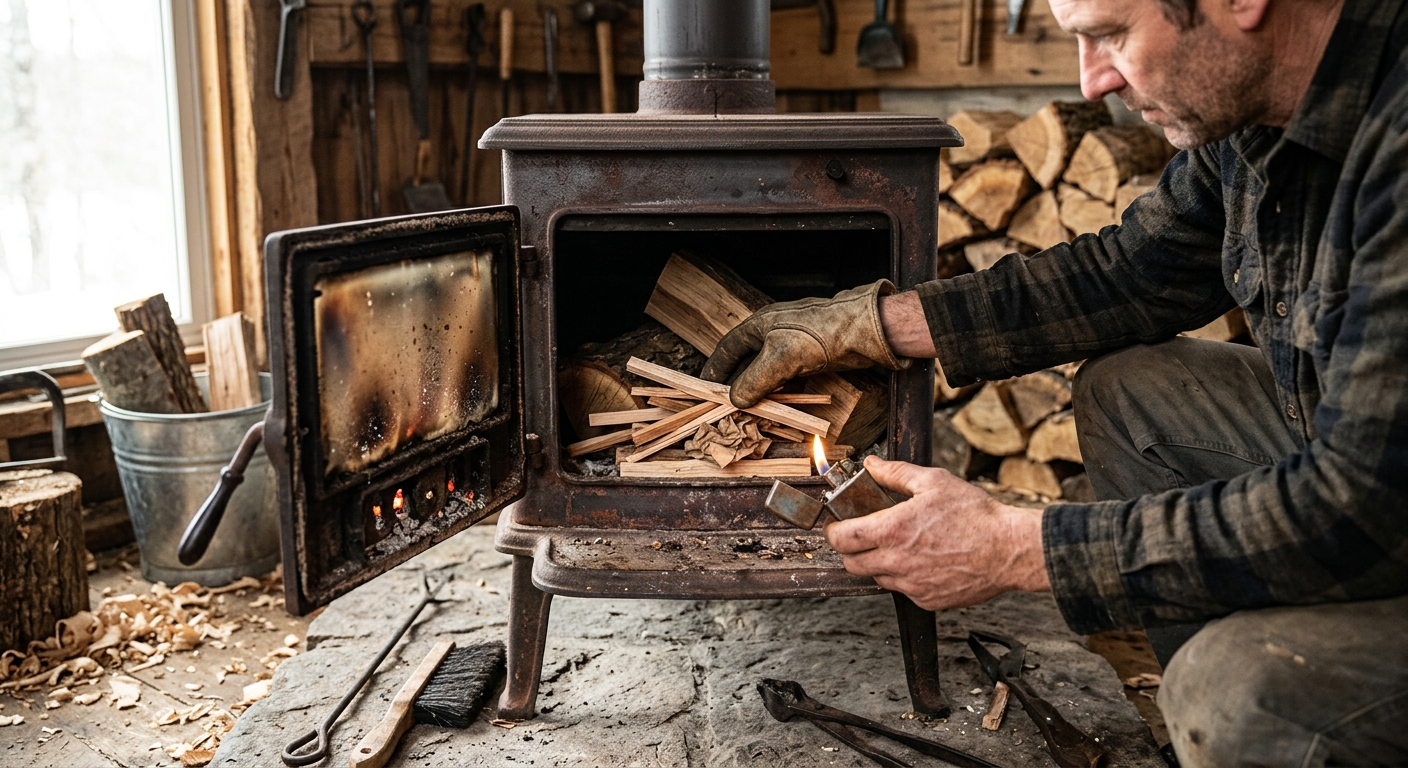
Living off-grid isn’t just a lifestyle choice for me; it’s a commitment to resilience and self-sufficiency. And nowhere is that commitment tested more severely than during the winter months. When temperatures plummet and snow piles high, the ability to heat your home without electricity isn’t merely a convenience – it’s a matter of survival. I remember one particularly brutal January in the Rockies, when a surprise ice storm knocked out power to our nearest town for five days. Neighbors who relied solely on electric furnaces were scrambling, some even evacuating. We, however, remained comfortably warm, thanks to our robust wood-burning system and well-insulated home.
The importance of this knowledge extends beyond full-time off-gridders. Climate change is bringing more extreme weather events, and aging electrical grids are increasingly vulnerable. A simple winter storm can leave millions without power, often for days. Furthermore, the rising cost of conventional energy makes alternative heating methods economically attractive. I’ve seen propane prices fluctuate wildly, and the peace of mind knowing I have reliable, non-electric heating options has been invaluable. Preparing to heat your home without electricity winter is a vital component of any comprehensive emergency preparedness plan, a smart financial move, and a significant step towards true independence.
Over the past ten years, I’ve experimented with various systems, learning what works best in different scenarios and climates. I’ve wrestled with smoky chimneys, optimized air flow, and meticulously calculated BTUs per hour. My experience has taught me that there’s no single « best » solution; rather, it’s about understanding your specific needs, resources, and environment. This background informs every piece of advice I offer, ensuring it’s grounded in real-world application and hard-won wisdom. It’s about empowering you to take control of your comfort and safety, come what may.
7 Methods to Heat Your Home Without Electricity in Winter: A Full Comparison
When it comes to staying warm when the grid is down or never existed, there are numerous strategies, each with its own benefits and drawbacks. I’ve personally relied on many of these, often in combination, to maintain a comfortable living space through harsh winters. Let’s dive into a detailed comparison of seven effective methods to heat your home without electricity winter.
1. Wood Stoves & Fireplaces
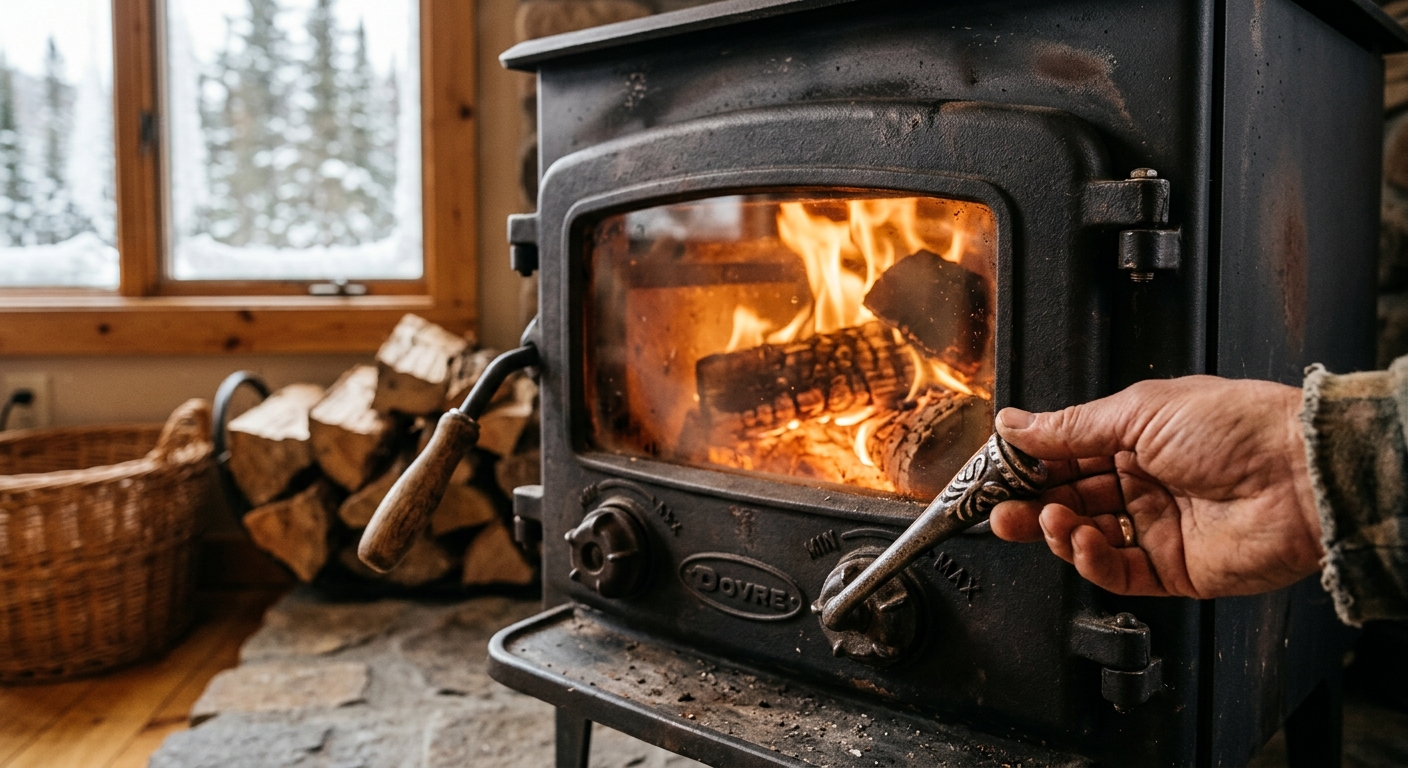
The quintessential off-grid heating solution. Nothing beats the radiant heat and ambiance of a wood fire. Modern wood stoves are incredibly efficient compared to old fireplaces. I installed a Jotul F 600 Fireplace in my main cabin, a cast-iron beast rated for up to 80,000 BTU/hr, capable of heating up to 2,500 sq ft. It cost me about $4,200 for the stove itself, plus another $1,500 for the double-wall stainless steel chimney system (DuraVent DVL and DuraTech components). Fuel costs vary; I typically buy 3-4 cords of seasoned hardwood (oak, maple) annually at $250-$400 per cord, depending on the supplier and year. The key here is proper installation (to code, with adequate clearances) and learning how to burn efficiently – secondary combustion models are excellent for maximizing heat and minimizing creosote buildup. Regular chimney cleaning (I do it myself twice a season with a Liberator brush kit from Rutland Products, about $100 for the kit) is non-negotiable for safety.
2. Vented Propane/Natural Gas Heaters
For those who prefer a cleaner burn and thermostat control without the need for an electrical connection, vented propane or natural gas heaters are an excellent option. These units draw combustion air from outside and vent exhaust gases directly outside, making them very safe for indoor air quality. I’ve used an Empire Comfort Systems RH-50-B Vented Room Heater in a smaller guest cabin. This specific model, rated at 50,000 BTU, easily heats its 1,200 sq ft space and runs entirely without electricity (though some models offer an optional blower which *does* require power). The heater itself cost around $1,350. Fuel comes from a 500-gallon propane tank I had installed ($800 for installation, tank lease is usually free with a contract). Propane prices fluctuate, but I typically pay $2.50-$3.50 per gallon. A full 500-gallon tank lasts me most of the winter for heating and cooking. Installation requires professional plumbing for the gas line and proper venting through an exterior wall or roof.
3. Kerosene/Diesel Heaters
These portable heaters offer quick, intense heat and are fantastic for zone heating or emergency situations. While they burn a liquid fuel, many models are completely non-electric. I keep a DuraHeat DH2304S Kerosene Heater (23,800 BTU) on hand for my workshop or as a backup. It cost me about $180. Kerosene runs around $5-7 per gallon, and a 1.9-gallon tank can run for 8-12 hours on a single fill. Diesel heaters, like the Webasto Air Top 2000 STC (around $1,200 for the unit, though it requires minimal 12V electricity for the fan/pump, which can be run off a small 10Ah LiFePO4 battery like a Bioenno Power BLF-1210A at $100), are more commonly used in RVs and small cabins, known for their efficiency and lower fuel cost (diesel typically $3.50-$5.00/gallon). The critical aspect for both is *ventilation*. While some are « vent-free, » I always recommend cracking a window or using a CO detector (like a Kidde Nighthawk KN-COPP-3 at $45) for safety, especially with kerosene, as they consume oxygen and produce moisture and some pollutants. I never leave them unattended for extended periods.
4. Passive Solar Heating Systems
This is my favorite long-term, no-cost heating strategy. Passive solar design integrates the building itself with its environment to capture and retain solar energy. My current home is oriented with its longest side facing south, featuring large, double-pane, low-emissivity windows (U-value 0.28, SHGC 0.40, roughly $400-$800 per window, depending on size). Inside, I have a dark-colored concrete slab floor (a thermal mass of about 4 inches thick, costing roughly $7 per sq ft for materials and pour) that absorbs solar radiation during the day and slowly releases it at night. Overhangs are strategically designed to block high summer sun but allow low winter sun to penetrate. While the initial investment is part of construction costs, there are no ongoing fuel expenses. The trick is balancing heat gain with heat loss, ensuring proper insulation, and managing night-time heat retention (e.g., using heavy curtains or thermal blinds). I’ve found that on sunny winter days, even when it’s 0°F outside, my interior can reach 70°F without any active heating, simply by design.
5. Rocket Mass Heaters (RMH)
If you’re into DIY and ultra-efficiency, the rocket mass heater is a game-changer. I built one in my workshop a few years back, and it’s incredible. An RMH burns wood very efficiently at high temperatures in a small combustion chamber, sending hot exhaust gases through a long, winding heat exchange channel (often made of steel stovepipe) embedded within a large thermal mass (cob, brick, stone, concrete). This mass absorbs the heat and radiates it slowly for 12-24 hours after a short burn (1-2 hours). My RMH uses a 6-inch diameter burn tunnel and heat riser, leading to an 8-inch diameter barrel wrapped in cob. Total material cost was about $800 (firebricks, stovepipe, steel barrel, sand, clay, straw). It uses significantly less wood than a traditional stove for the same heat output, often 70-90% less. The surface temperature of the bench (my thermal mass) typically sits around 90-110°F. It requires careful construction and understanding of airflow, but the results are phenomenal – continuous, gentle radiant heat from a small amount of fuel.
6. Unvented Catalytic Propane Heaters
These heaters are incredibly efficient at converting propane into heat, and many are designed to be portable and operate without electricity. They use a catalytic combustion process that’s flameless, resulting in very low emissions compared to blue flame unvented heaters. I have a Mr. Heater F215100 MH4B Little Buddy (3,800 BTU) that I use for quick warmth in smaller, well-ventilated spaces, like a pop-up tent or a small insulated shed. It runs on 1lb propane cylinders ($5-7 each) and costs around $80. While they are highly efficient and produce minimal carbon monoxide, *ventilation is still crucial*. They produce water vapor and deplete oxygen. For larger spaces, a bigger unit like the Mr. Heater MH9BX Buddy Heater (9,000 BTU, $100-$120) connected to a 20lb propane tank is popular. I strictly adhere to manufacturer guidelines regarding minimum room size and ensure a window or vent is cracked open. Always, always use a reliable CO detector. These are best for supplemental or emergency heat, not primary whole-house heating, unless you have exceptional ventilation.
7. Masonry Heaters
Often considered the « Rolls-Royce » of wood heating, masonry heaters are massive, custom-built structures designed to absorb and store heat from a hot, fast-burning fire. Like rocket mass heaters, they release this heat slowly and evenly over many hours. The firebox burns very hot and clean, minimizing emissions. Unlike a traditional wood stove that radiates heat while burning, a masonry heater gets its mass hot quickly (1-2 hours of firing) and then radiates that gentle heat for 12-24 hours. I’ve only built a smaller, simpler version for a friend, but I’ve experienced the comfort of a full-scale masonry heater. They are incredibly efficient (often 85%+), burning minimal wood. The downside is the cost and complexity: a professionally built masonry heater can range from $8,000 to $20,000 or more, depending on size and finish, making them a significant upfront investment. However, for continuous, comfortable, and low-maintenance heat without electricity, they are unparalleled. They essentially become a part of your home’s architecture, a permanent thermal battery.
Best Products/Options in 2026 with Real Prices
Forecasting specific prices for 2026 is tricky, but generally, I anticipate a modest increase in material and manufacturing costs. The models I recommend are robust and proven, so I expect them to remain available, perhaps with minor upgrades. Here are my top picks for heating your home without electricity winter, based on current offerings and projected availability, with estimated 2026 prices.
- Wood Stove: Jotul F 600 Fireplace (Est. 2026 Price: $4,500 – $5,500 USD)
- A classic, heavy-duty cast iron stove known for its longevity and excellent heat output (up to 80,000 BTU/hr). It features a large firebox and good efficiency (EPA certified at 72% LHV). Ideal for larger homes (up to 2,500 sq ft). You’ll also need a high-quality chimney system, budgeting an additional $1,500 – $2,500 for a double-wall stainless steel setup like DuraVent.
- Vented Propane Heater: Empire Comfort Systems RH-50-B Vented Room Heater (Est. 2026 Price: $1,400 – $1,700 USD)
- This 50,000 BTU model provides clean, reliable heat for up to 1,500 sq ft without needing electricity for its core operation. It comes with a thermostat for easy temperature control. Installation will require a professional for gas lines and venting, which could add $500 – $1,000 depending on complexity.
- Kerosene Heater: DuraHeat DH2304S Kerosene Heater (Est. 2026 Price: $200 – $280 USD)
- A portable workhorse delivering 23,800 BTU/hr, perfect for emergency heating, workshops, or zone heating. It has a 1.9-gallon tank offering up to 12 hours of run time. Remember to always provide adequate ventilation and have a CO detector.
- Passive Solar Elements: High-Performance South-Facing Windows & Thermal Mass (Est. 2026 Price: Varies significantly)
- For new builds or major renovations, investing in high-quality, low-E, double-pane windows (e.g., Andersen 400 Series) for south-facing walls will be crucial. Expect $450 – $900 per window. For thermal mass, a 4-inch concrete slab floor can cost $8-$12 per sq ft installed. These are integrated costs within construction but offer free heat for decades.
- Rocket Mass Heater: DIY Build Kit/Components (Est. 2026 Price: $900 – $2,500 USD)
- While most are DIY, you can source high-quality components. A basic kit for the firebox and heat riser (e.g., a batch box core from a reputable RMH builder) might be $300-$500. Add firebricks ($2-$4 each), stovepipe ($50-$100 per 4ft section), a steel barrel ($50-$150), and cob/masonry materials (sand, clay, straw, stone, cement – $200-$500). The significant cost is labor, which you save by doing it yourself.
- Unvented Catalytic Propane Heater: Mr. Heater F232000 MH9BX Buddy Heater (Est. 2026 Price: $110 – $140 USD)
- A popular choice for portable, efficient heating in smaller, well-ventilated areas. It delivers up to 9,000 BTU/hr and can connect to a 1lb cylinder or a larger tank with an adapter. Essential safety gear includes a high-quality CO detector like the Kidde Nighthawk KN-COPP-3 (Est. 2026 Price: $50 – $70).
- Masonry Heater: Custom Built (Est. 2026 Price: $9,000 – $25,000+ USD)
- These are almost exclusively custom projects. The price varies immensely based on size, materials (firebrick, soapstone, tile, plaster), and the mason’s expertise. Materials alone can easily run $3,000-$8,000. It’s a significant investment but offers unparalleled long-term efficiency and comfort.
Detailed Comparison Table
| Heating Method | Typical BTU/hr Output | Fuel Type & Cost (Est. 2026) | Upfront Cost (Est. 2026) | Pros | Cons |
|---|---|---|---|---|---|
| 1. Wood Stoves & Fireplaces | 20,000 – 80,000+ | Cordwood ($300-$500/cord) | $4,500-$7,000 (stove + chimney) | High heat, reliable, renewable fuel, ambiance | Requires fuel storage, labor for processing, ash cleanup, chimney cleaning |
| 2. Vented Propane/Natural Gas | 10,000 – 50,000 | Propane ($3-$4.50/gal) or Natural Gas | $1,400-$2,700 (heater + installation) | Clean, thermostatic control, safe indoor air, no ash | Requires fuel delivery/tank, dependent on supply, higher ongoing fuel cost than wood |
| 3. Kerosene/Diesel Heaters | 10,000 – 70,000 | Kerosene ($6-$8/gal) or Diesel ($4-$6/gal) | $200-$400 (portable unit) | Portable, quick heat, good for zone heating/emergencies | Requires strict ventilation, fuel storage, higher fuel cost, potential for odors |
| 4. Passive Solar Heating | Varies by design (free heat) | N/A (sunlight is free) | Integrated into construction (windows $450-$900 ea, thermal mass $8-$12/sq ft) | Zero ongoing fuel cost, sustainable, silent, no moving parts | Design-dependent, only works when sun shines, not suitable for existing homes without major reno |
| 5. Rocket Mass Heaters | Varies (efficient, radiant) | Wood (very low consumption) | $900-$2,500 (DIY materials) | Ultra-efficient, uses small wood, long-lasting radiant heat, DIY-friendly | Complex DIY build, permanent installation, requires specific skills/knowledge |
| 6. Unvented Catalytic Propane | 3,800 – 30,000 | Propane ($5-$8/1lb cylinder, or bulk) | $110-$150 (portable unit) | Highly efficient, portable, quick heat, low emissions (vs. blue flame) | Requires constant ventilation, oxygen depletion risk, CO/moisture buildup, not for primary heat |
| 7. Masonry Heaters | Varies (efficient, radiant) | Wood (very low consumption) | $9,000-$25,000+ (custom built) | Extremely efficient, long-lasting gentle radiant heat, very clean burning | Very high upfront cost, complex professional installation, permanent fixture |
Pro Tips from Experience
- Prioritize Insulation and Draft Proofing: Before you even think about buying a heater, seal your home. I can’t stress this enough. I once helped a friend troubleshoot his constantly cold cabin; turns out, he had an R-19 attic when R-60 was needed for his climate, and massive gaps around windows and doors. We added blown-in cellulose insulation (around $1.50/sq ft for R-60) and sealed all penetrations with expanding foam (Great Stuff Pro Gaps & Cracks, $10/can) and silicone caulk (GE Silicone 2+, $6/tube). His wood consumption dropped by 30% that winter. It’s the most cost-effective heating strategy.
- Layer Your Heating: Don’t rely on a single source. My system involves a primary wood stove, a passive solar design that handles much of the daytime load, and a Mr. Heater Buddy for quick warmth in the bathroom in the morning. This redundancy is key. For true off-grid resilience, consider a Power Grid Generator complete system guide if you need to integrate some electric backups for things like water pumps or lighting, even if your primary heat is non-electric.
- Understand BTUs and Square Footage: Don’t just guess. A general rule of thumb is 20-30 BTUs per square foot in well-insulated homes in moderate climates, but this can jump to 40-60 BTUs in colder climates or less insulated homes. For example, my 1,800 sq ft cabin in a cold climate needs roughly 54,000-72,000 BTUs/hr on the coldest days. My Jotul F 600 at 80,000 BTU/hr is slightly oversized, which allows for less frequent loading.
- Fuel Management is Critical: If you’re burning wood, you need a year-round plan. I harvest my own wood in spring, split it in summer, and stack it to season for at least 6-12 months. Green wood burns poorly, creates creosote, and gives little heat. For propane, I monitor my 500-gallon tank monthly and schedule refills well before it’s critical, especially before winter storms.
- Safety First, Always: I can’t emphasize this enough. Install multiple carbon monoxide detectors (I have three Kidde Nighthawk KN-COPP-3 units in different zones of my home). Ensure proper ventilation for any combustion appliance. Keep flammables away from heat sources. Have a fire extinguisher (Kidde Pro 210, $50) easily accessible. Regular maintenance, like chimney cleaning for wood stoves, is not optional.
- Embrace Thermal Mass: This goes hand-in-hand with passive solar and rocket mass heaters. Heavy materials like concrete, stone, or water barrels absorb heat when it’s available and release it slowly. Even adding a few 55-gallon drums filled with water (painted black for solar gain) in a sunny spot can significantly stabilize indoor temperatures.
- Zone Heating: Don’t try to heat your entire home to 70°F if you only use certain rooms. Focus your primary heat source on your main living areas and use smaller, portable heaters for bedrooms before bed or in a workshop when you’re using it. This saves significant fuel.
Common Mistakes to Avoid
- Underestimating Insulation Needs: A common oversight is thinking a powerful heater will compensate for poor insulation. It won’t, or it will at a huge cost. I’ve seen people buy massive wood stoves only to burn through cords