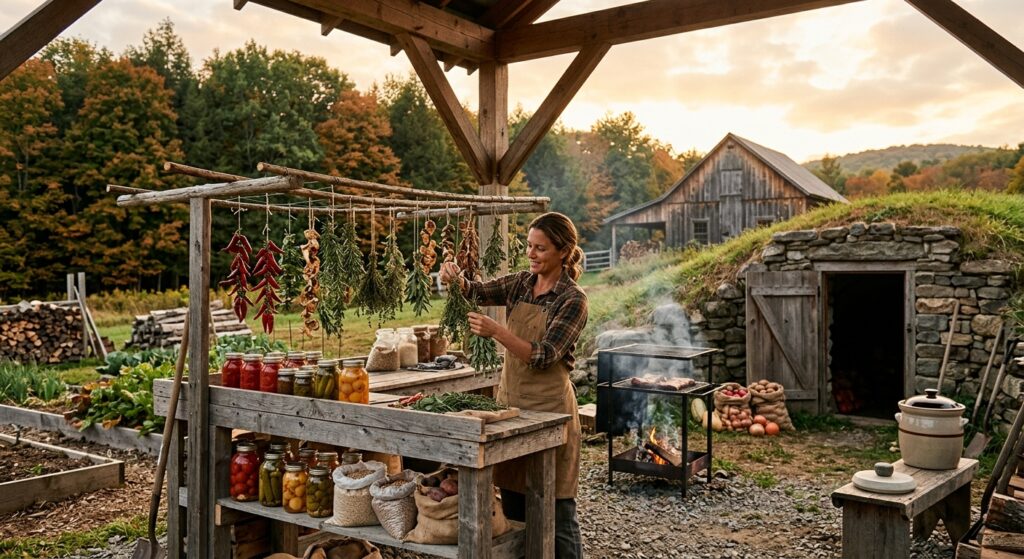
How to Preserve Food Without a Refrigerator: The Complete Off-Grid Guide
Picture this: your power grid goes down for two weeks, or you’ve just moved onto a remote homestead with no utility hookup. You’ve got a garden full of tomatoes, a dozen jars of milk, and a freezer that’s about to become a very expensive cooler. Without a plan, you lose everything. This is the situation thousands of off-gridders face every summer — and it’s exactly why knowing how to preserve food without a fridge is one of the most essential skills you can own.
Most Americans have lost the knowledge their great-grandparents took for granted. Before electric refrigeration arrived in rural homes in the 1940s and 1950s, every household preserved food as a matter of survival. Families routinely stored enough food to last through six-month winters without a single kilowatt of electricity. Lose that knowledge, and you’re one storm, one power outage, or one propane shortage away from a very bad situation.
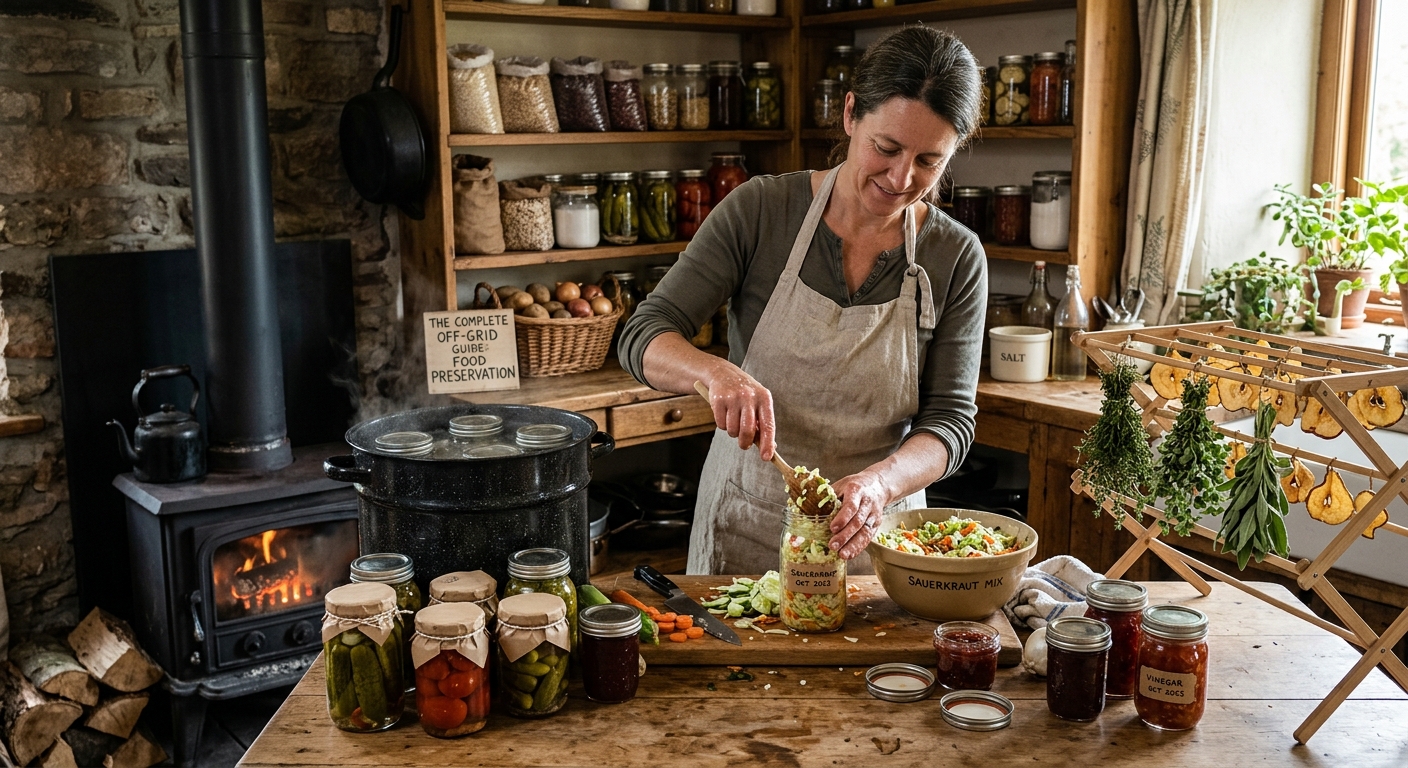
In this guide you’ll learn seven proven methods for preserving food without a refrigerator — water bath canning, pressure canning, dehydrating, fermenting, smoking, root cellaring, and salt-curing. For each method you’ll get step-by-step instructions, realistic shelf life numbers, and the equipment you actually need. A comparison table at the end lets you pick the right technique for any food in your pantry.
Quick Answer: The Best Methods to Preserve Food Without a Fridge
There is no single best method — the right choice depends on the food type, your available equipment, and how long you need it to last. Here’s a fast overview of the seven core techniques covered in this guide:
- Water bath canning — best for high-acid foods (tomatoes, jams, pickles); shelf life 1–2 years
- Pressure canning — required for low-acid foods (beans, meat, broth); shelf life 2–5 years
- Dehydrating — lightweight, versatile; dried fruit and jerky last 6–12 months
- Fermenting — no heat, no equipment; sauerkraut and kimchi last 6+ months in a cool space
- Smoking — ideal for meat and fish; hot-smoked items last days to weeks, cold-smoked months
- Root cellaring — zero energy, best for root vegetables and apples; some crops last 6–8 months
- Salt-curing and lard-sealing — ancient, reliable; salt-cured pork lasts up to a year
Water Bath Canning: The Foundation of a Pantry
What It Is and When to Use It
Water bath canning uses boiling water (212°F at sea level) to create an airtight vacuum seal in glass jars. The heat destroys mold, yeast, and most bacteria. This method is safe only for high-acid foods — those with a pH below 4.6. That includes tomatoes (with added lemon juice or citric acid), all fruit jams and jellies, pickles processed in 5% acidity vinegar, and most fruit preserves.
Step-by-Step Water Bath Canning
- Inspect your jars. Use Mason or Ball jars with no chips or cracks. New lids every time — never reuse flat lids.
- Sterilize. Run jars through a dishwasher hot cycle or submerge in boiling water for 10 minutes.
- Prepare your recipe. Follow a tested recipe from the USDA Complete Guide or the Ball Blue Book ($9 on Amazon). Do not adjust ingredient ratios.
- Fill jars. Leave the headspace specified in the recipe — typically ¼ inch for jams, ½ inch for tomatoes.
- Remove air bubbles. Run a thin spatula around the inside edge.
- Wipe rims clean with a damp cloth. Place lids and rings finger-tight — not cranked down hard.
- Process. Lower jars into a canner of boiling water, ensuring at least 1 inch of water covers the tops. Process for the time in your recipe (tomatoes: 40–45 minutes for quarts).
- Cool. Remove jars and set on a towel, spaced 1 inch apart. Do not tilt or press lids. After 12–24 hours, test the seal — the center of each lid should not flex up and down.
A 21-quart Granite Ware water bath canner costs about $30 and handles up to 7 quart jars at once. A dozen wide-mouth quart jars with lids runs around $15.
Pressure Canning: The Method You Can’t Skip for Meat
Why Pressure Canning Is Different
Low-acid foods — green beans, corn, all meats, poultry, fish, and broth — cannot be safely preserved using water bath canning. The boiling point of water (212°F) is not hot enough to destroy heat-resistant bacterial spores in low-acid environments. A pressure canner raises the internal temperature to 240°F, which is what these foods require.
How to Use a Pressure Canner
The two most trusted brands are All American (made in the USA, no gasket) and Presto. An All American 21.5-quart canner holds 19 pint jars and costs around $350 — it will outlast you if maintained properly. A Presto 23-quart model runs about $120 and works well for most homesteads.
- Add 2–3 inches of hot water to the canner and place a rack inside.
- Fill hot jars with prepared food, leaving 1-inch headspace for meat and beans.
- Seal jars finger-tight and load into the canner.
- Lock the lid. Heat on high until steady steam vents from the petcock for 10 minutes — this purges air pockets.
- Close the petcock or add the weighted gauge. Bring to the required pressure (10 lbs for most foods at altitudes under 1,000 feet; add 5 lbs per 1,000 feet above that).
- Process for the recipe time (chicken chunks: 75 minutes for pints, 90 minutes for quarts).
- Remove from heat and let pressure drop naturally — never force-cool a pressure canner.
- Wait 10 minutes after the gauge reads zero before opening.
Shelf life for pressure-canned meat and beans is 2–5 years when stored below 70°F in a dark location. Quality degrades after year 3 but properly sealed jars remain safe much longer.
Dehydrating Food: Lightweight, Long-Lasting, Low-Cost
How Dehydration Preserves Food
Removing moisture below 20% (ideally below 10%) prevents bacteria, mold, and yeast from surviving. Dehydrated food weighs up to 90% less than fresh food, making it ideal for bug-out bags, camping, and pantry storage in small spaces.
Three Dehydration Methods
Sun drying is the oldest method and costs nothing. Slice fruit or vegetables thinly (¼ inch), lay on clean screens in direct sunlight, and cover with cheesecloth to keep insects off. Ambient temperature should be above 85°F with low humidity. Sun-drying apricots or tomatoes takes 2–4 days. It works reliably in the American Southwest; in humid climates like the Southeast, sun drying often leads to mold before the food dries out.
Electric dehydrators are the most practical off-grid solution when you have solar power. The Excalibur 9-tray model ($300–$350) is the gold standard — it holds 15 square feet of drying space and processes up to 30 lbs of produce per batch. Nesco units start around $60 for basic models. Set temperatures between 125°F (herbs) and 155°F (meats/jerky). Most vegetables and fruit dry in 6–12 hours.
Oven drying at 170°F works when you don’t have a dehydrator. Prop the oven door open about 2 inches to allow moisture to escape, and rotate trays every 2 hours. This method uses significantly more energy than a dedicated dehydrator and produces slightly less consistent results, but it gets the job done in a pinch. At 170°F, sliced apple rings are dry in 6–8 hours; jerky strips (¼ inch thick, marinated) take 4–6 hours.
Shelf Life for Dehydrated Foods
Store all dehydrated foods in airtight glass jars or Mylar bags with oxygen absorbers in a cool, dark location. Fruits last 6–12 months; vegetables 1–2 years; jerky 1–2 months at room temperature (6 months refrigerated or vacuum-sealed). Dried herbs retain potency for 1–3 years.
Fermentation: Nature’s Preservation System
Why Fermentation Works
Lacto-fermentation uses the naturally occurring Lactobacillus bacteria present on vegetables to produce lactic acid. That acid drops the pH of the brine below 4.6, creating an environment hostile to harmful bacteria. The process requires no heat, no electricity, and no vinegar — just vegetables, non-iodized salt, and a clean jar.
How to Make Sauerkraut
- Shred 5 lbs of cabbage with a knife or mandoline.
- Add 3 tablespoons of non-iodized salt (kosher or pickling salt). Iodized salt inhibits fermentation.
- Massage the cabbage firmly for 5–10 minutes until it releases substantial liquid.
- Pack tightly into a half-gallon mason jar, pressing down so the brine covers the cabbage by at least ½ inch. Submerged cabbage ferments; cabbage above the brine molds.
- Weight the cabbage down with a zip-lock bag filled with brine, a small jar, or a purpose-made fermentation weight ($8–$15).
- Cover loosely (a cloth or loose lid) to allow CO2 to escape. Ferment at 65–75°F.
- Taste starting at day 3. At 68°F, most people prefer the flavor at 7–14 days. At cooler temperatures (55°F), fermentation takes 4–6 weeks and produces a milder, crunchier result.
- Once the flavor is right, seal with a tight lid and move to a cool location (root cellar, cool basement). Well-fermented sauerkraut lasts 6 months or longer.
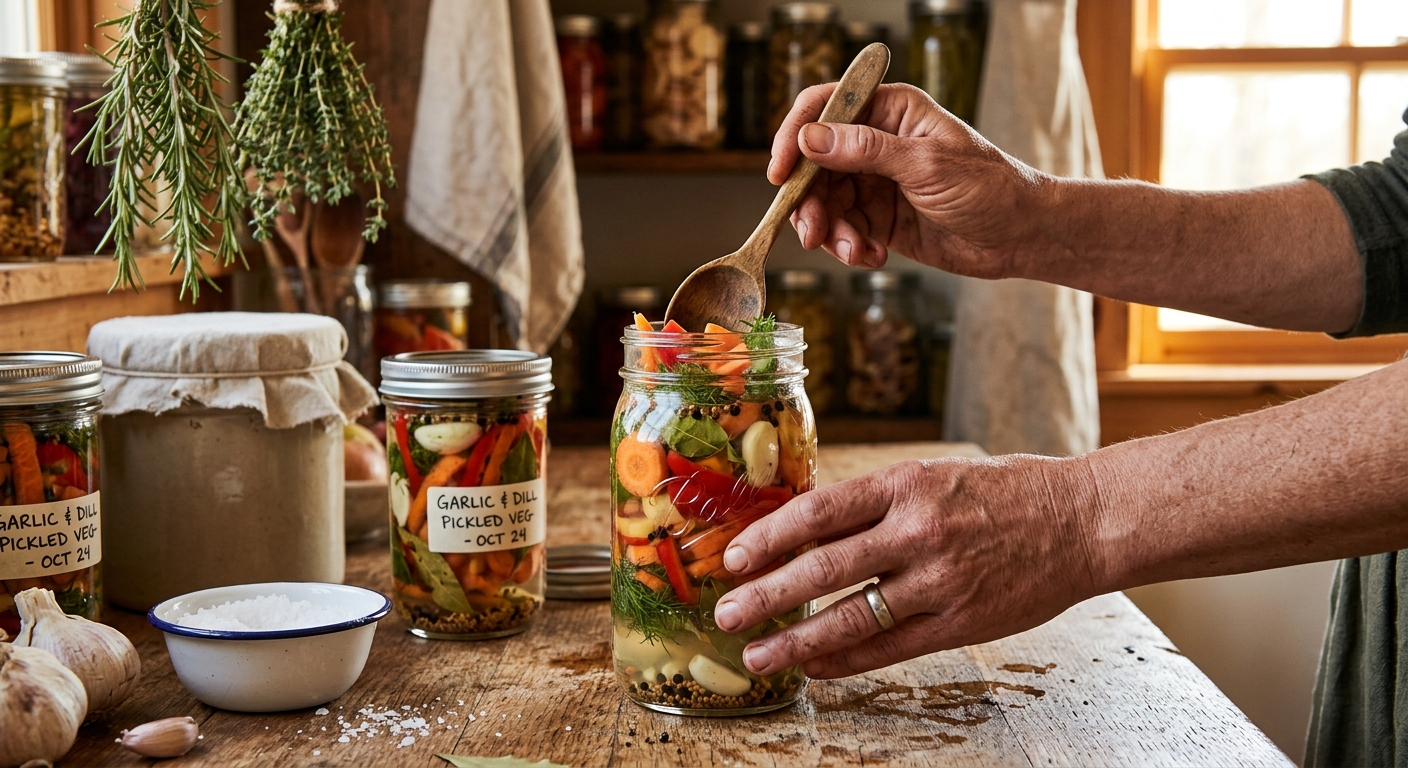
Kimchi follows a nearly identical process — substitute napa cabbage, add grated ginger, garlic, green onions, and gochugaru (Korean chili flakes). For vinegar-free pickles, pack cucumbers with dill and garlic into a brine of 2 tablespoons salt per quart of water and ferment 3–5 days.
Smoking: Old-School Preservation That Builds Flavor
Cold Smoking vs. Hot Smoking
Hot smoking cooks and preserves simultaneously by exposing food to smoke at 165–250°F. Hot-smoked meats like brisket, chicken, and pork ribs are fully cooked and safe to eat immediately. Without refrigeration, hot-smoked meats last 3–7 days at room temperature (in a cool environment), or up to 2 weeks if combined with salt-curing beforehand. Hot smoking is done in any standard smoker — a Weber kettle with indirect heat, an offset smoker, or a simple barrel smoker built from a 55-gallon drum.
Cold smoking uses smoke at temperatures below 90°F and does not cook the food. It dehydrates the surface and deposits antimicrobial compounds (phenols, formaldehyde from wood smoke) that inhibit bacterial growth. Cold smoking is most effective when combined with curing: salt the meat or fish first (see salt-curing section), then cold-smoke for 12–72 hours. Cold-smoked salmon (lox-style) keeps for 2–3 weeks without refrigeration; cold-smoked and salt-cured sausages like summer sausage or salami keep for months at cool temperatures.
Hardwoods — hickory, apple, cherry, oak, and mesquite — are the standard choices. Never use pine, cedar, or any resinous wood. A simple cold-smoke setup can be built using a smoke generator ($30–$60, like the Smoke Daddy or a homemade tin-can design) attached to a metal drum or wooden smoking box.
Root Cellaring: Free Cold Storage Underground
How a Root Cellar Works
The ground below the frost line maintains a near-constant temperature of 32–50°F year-round in most of the continental United States. A root cellar exploits this thermal mass to create a naturally refrigerated space with no energy input. Ideal root cellar conditions are 32–40°F with 90–95% relative humidity — conditions that keep most vegetables dormant and fresh for months.
What Stores Well and For How Long
Carrots, beets, parsnips, and turnips store best at 32–40°F and high humidity. Buried in slightly damp sand or sawdust in wooden crates, carrots can last 4–6 months. Potatoes prefer slightly warmer conditions (38–40°F) and moderate humidity; they keep 5–8 months in the dark (light triggers sprouting and greening). Winter squash and pumpkins store best at 50–55°F with moderate humidity — conditions found in many basements — for 3–6 months. Apples store 4–6 months at 32–40°F, but keep them away from other vegetables; apples release ethylene gas that accelerates ripening and spoilage of neighbors.
A basic root cellar can be as simple as a buried trash can (a 30-gallon galvanized metal can, lid sealed with weatherstripping, buried in the ground with 6 inches of soil over the lid) or as elaborate as an insulated underground room. Even a north-facing corner of an unheated basement, insulated from the rest of the house, serves as an effective root cellar in most USDA zones 4–7.
Salt-Curing and Lard-Sealing: The Techniques That Fed Armies
Salt-Curing Meat
Salt draws moisture out of meat through osmosis and creates a hostile environment for spoilage bacteria. The two primary methods are dry-curing and wet-curing (brining).
For a simple dry-cure: mix 1 lb of non-iodized salt with ¼ oz of curing salt (Prague Powder No. 1 for short-cure items like bacon; Prague Powder No. 2 for long-cure items like hams). Rub generously on all surfaces of the meat, place in a food-safe container, and refrigerate — or keep in a cool space below 40°F. A 10-lb pork belly for bacon cures in 7–10 days. A whole bone-in ham requires 1–2 days per pound. Salt pork (heavily cured pork fat and belly used as a cooking ingredient) can be stored in a crock covered with additional salt for up to a year in a cool cellar.
Lard-Sealing (Confit)
Confit is a French preservation technique — food is slow-cooked in rendered fat, then submerged completely in that fat in a sealed crock or jar. When the fat solidifies, it creates an airtight seal that excludes oxygen and prevents microbial growth. Duck confit is the classic example. The same technique works with pork, chicken thighs, and even garlic. Stored in a cool cellar or root cellar (below 55°F), confit keeps for 3–6 months. Historically, this method kept meat through winter in French farmhouses before any form of mechanical refrigeration.
📚 Old Skills That Still Work
Before refrigerators, people kept food all winter using methods that still work today. The Lost Ways covers dozens of forgotten preservation techniques used by 18th-century homesteaders — including smoke-curing, lacto-fermentation, and clay pot storage.
*Affiliate link — we may earn a commission at no cost to you.
Food Preservation Shelf Life Comparison
| Method | Best For | Equipment Needed | Approx. Startup Cost | Shelf Life |
|---|---|---|---|---|
| Water Bath Canning | Tomatoes, jams, pickles, fruit | Canner pot, jars, lids | $30–$60 | 1–2 years |
| Pressure Canning | Meat, beans, broth, corn | Pressure canner, jars, lids | $120–$350 | 2–5 years |
| Dehydrating | Fruit, vegetables, jerky, herbs | Dehydrator or oven | $0 (oven) to $300+ | 6 months–2 years |
| Fermenting | Cabbage, cucumbers, peppers | Mason jars, salt | Under $20 | 3–12 months |
| Hot Smoking | Meat, poultry, fish | Smoker, hardwood | $50–$300 | 3–14 days |
| Cold Smoking + Curing | Salmon, sausage, bacon | Cold smoke generator, curing salts | $40–$100 | Weeks to months |
| Root Cellaring | Root vegetables, apples, potatoes, squash | Cellar space, bins, sand | $0–$100 | 3–8 months |
| Salt-Curing | Pork belly, ham, fish | Curing salt, container | Under $30 | Months to 1 year |
| Lard-Sealing (Confit) | Duck, pork, chicken, garlic | Rendered fat, crock or jar | Under $20 | 3–6 months |
Common Mistakes and How to Avoid Them
Using Untested Recipes for Canning
The single most dangerous mistake in canning is modifying tested recipes or using recipes from non-authoritative sources. The Ball Blue Book ($9), the USDA Complete Guide to Home Canning (free at nchfp.uga.edu), and the National Center for Home Food Preservation are the three sources you should trust. Adding extra onions to a salsa recipe or using a different tomato variety than specified changes the pH and processing time. When in doubt, use the recipe exactly as written.
Skipping Altitude Adjustments
Water boils at lower temperatures at higher elevations, which means both water bath and pressure canning require adjusted processing times or pressures above 1,000 feet. At 5,000 feet, water boils at 202°F — not hot enough to safely process tomatoes without adding processing time. The USDA tables include altitude adjustment charts; use them if you live above 1,000 feet.
Fermenting in Chlorinated Tap Water
Chlorine and chloramine in municipal water suppress the Lactobacillus bacteria that make fermentation work. Use well water, spring water, or tap water that has sat uncovered for 24 hours (chlorine dissipates; chloramine does not — filter or use bottled water if your municipality uses chloramine).
Storing Canned or Preserved Food in the Wrong Conditions
Heat and light are the enemies of long-term storage. Every 10°F increase in storage temperature roughly halves the shelf life of preserved foods. Aim for below 70°F and total darkness. A basement, root cellar, or interior closet on the ground floor is far better than a hot garage or shed. Label every jar with the contents and date — first in, first out.
Not Combining Methods
The most resilient off-grid homesteaders combine multiple preservation methods. Dehydrate and vacuum-seal your jerky for maximum shelf life. Salt-cure bacon and then smoke it. Pressure-can your broth and root-cellar your potatoes. No single method handles all food types, and diversifying your preservation approach means a failure in one system does not wipe out your entire food supply.
The Bottom Line
Learning how to preserve food without a fridge is not just a prepper skill — it is practical homesteading knowledge that reduces waste, lowers grocery bills, and gives you genuine food security. Start with water bath canning this summer when tomatoes are in season; add a root cellar setup in the fall; try your first batch of sauerkraut this winter. Each skill you add multiplies your resilience. The comparison table above gives you a clear framework: match the method to the food, invest in quality equipment once, and the returns last for years.
For a much deeper dive into the traditional techniques that kept families fed through harsh winters before any modern technology existed, The Self-Sufficient Backyard is worth a look — it covers not just food preservation but the full picture of producing and storing food on a small homestead plot.
Have questions about your specific situation? Drop them in the comments below — we read every one. If this guide helped you, share it with someone planning their off-grid setup.