How to Build a Slow Sand Water Filter for Off-Grid Homes
A slow sand filter, often called a biosand filter, is one of the oldest and most reliable water treatment methods in existence. Municipal systems in London used them in the 1800s and some still do. The design costs under $80 in materials, uses no electricity, no cartridges, and no replacement parts, and removes 95–99% of bacteria and protozoa from surface water.
It is not a sterilizer. Understanding exactly what it does and does not do is the difference between a useful tool and a false sense of security.
How It Actually Works
People assume sand filters work by straining. Straining is only part of it, and the smaller part.
Within one to three weeks of operation, a biological layer forms in the top inch of sand. This layer, called the schmutzdecke (German for dirt cover), is a living community of bacteria, protozoa, and microscopic predators. Pathogens entering the filter are consumed by this layer, not merely trapped.
Three mechanisms work together:
- Mechanical straining removes sediment, turbidity, and larger organisms in the top sand layer.
- Biological predation in the schmutzdecke consumes bacteria and protozoa — this is the main pathogen removal mechanism.
- Adsorption and natural die-off as water moves slowly through the sand column over several hours.
The filter does not work properly until the schmutzdecke matures. Water from a brand-new filter is filtered but not biologically treated.
What It Removes and What It Does Not
Realistic performance for a mature, correctly built filter:
- Bacteria (E. coli, salmonella, cholera): 95–99% removal
- Protozoa (giardia, cryptosporidium): 99–100% removal
- Helminths and worms: 100% removal
- Turbidity and sediment: 85–95% removal
- Iron and manganese: partial removal through oxidation
- Viruses: 50–90% removal — not sufficient on its own
- Dissolved chemicals, nitrates, arsenic, pesticides: essentially zero removal
- Salt: zero removal
Treat biosand as the first stage, not the only stage. For drinking water, follow it with boiling for one minute at a rolling boil, chlorination, or UV treatment. Biosand makes that final step dramatically more effective by removing the turbidity that shields pathogens from chlorine and UV.
Materials You Need
- One food-grade 55-gallon plastic drum, or a 5-gallon bucket for a small household version
- Coarse gravel, roughly 1/2 to 3/4 inch — about 3 gallons
- Fine gravel, roughly 1/8 to 1/4 inch — about 3 gallons
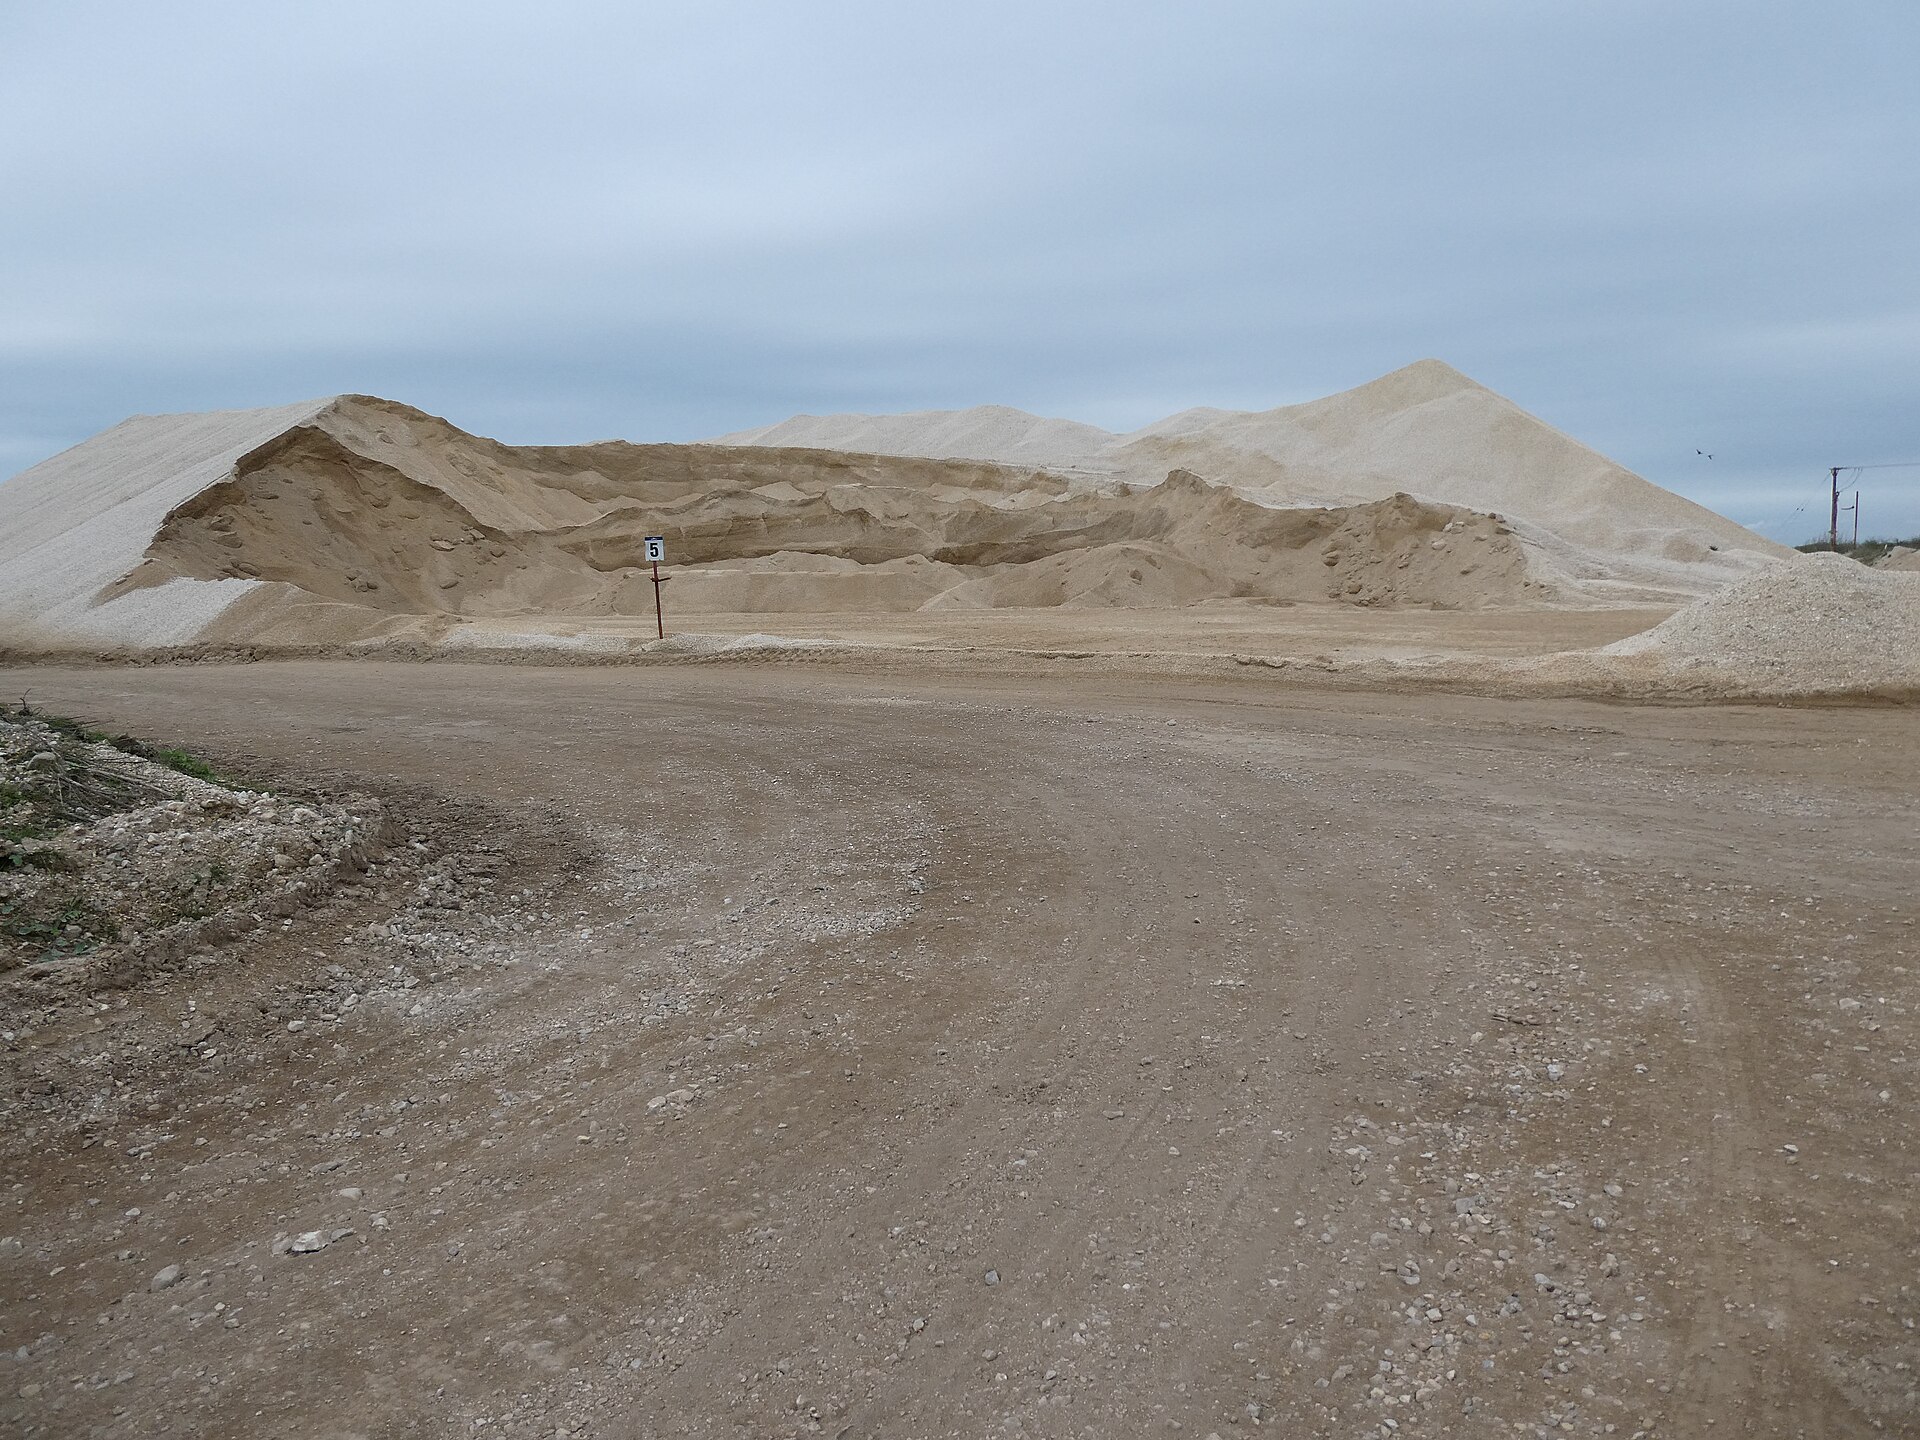
- Filter sand, 0.15–0.35mm grain size — about 20 gallons. Pool filter sand works and is cheap.
- 1-inch PVC pipe and elbows for the outlet standpipe
- Bulkhead fitting or well-sealed pipe penetration
- A diffuser plate: a flat plastic sheet or perforated basin
- A tight-fitting lid
Total cost is typically $60–$80 if you buy the barrel used.
Step 1: Wash the Sand Until You Want to Quit
This is the step that determines whether your filter works. Unwashed sand contains fine silt that clogs the filter and passes turbidity into your output.
Place sand in a bucket, fill with water, agitate vigorously, and pour off the cloudy water. Repeat. You will do this 15 to 25 times. Stop only when the water poured off is visibly clear. Plan on two hours. People who rush this step rebuild their filter.
Wash the gravel the same way, though it takes far fewer rinses.
Step 2: Build the Outlet Standpipe
The outlet is what keeps the sand permanently submerged, and permanent submersion is what keeps the schmutzdecke alive.
Run 1-inch PVC from the bottom of the barrel, up the inside wall, and out through a bulkhead fitting positioned so the outlet mouth sits 2 inches above the top of the sand layer. Water can never drain below that line, which means the biological layer never dries out.
If you let the sand go dry, the schmutzdecke dies and you restart the three-week maturation period.
Step 3: Load the Layers
From the bottom of the barrel upward:
- Coarse gravel, 3 inches — surrounds and supports the outlet pipe intake
- Fine gravel, 2 inches — transition layer that stops sand migrating into the gravel
- Filter sand, 20–24 inches — the working layer
- Standing water, 2 inches above the sand — maintained permanently by outlet height
- Headspace for pouring in raw water
Pour sand in gently through standing water rather than dumping it dry. This prevents air pockets and keeps the layers from mixing. Level the sand surface carefully — an uneven surface causes channeling, where water finds a fast path and bypasses the biological treatment entirely.
Step 4: Install the Diffuser
Place a perforated plate or basin 2 to 4 inches above the water surface. Pouring water directly onto the sand digs craters and destroys the schmutzdecke. The diffuser spreads the flow so the biological layer stays intact.
Step 5: Mature the Filter
Run water through the filter daily for two to three weeks before trusting it. Pour 3 to 5 gallons of your actual source water through each day. The schmutzdecke needs a steady supply of organic material to establish.
During this period the filter is doing mechanical filtration only. Do not rely on it for pathogen removal yet.
Daily Operation
Pour raw water in through the diffuser. Flow rate should be roughly 0.1 to 0.2 gallons per minute — deliberately slow. A 55-gallon design produces about 10–15 gallons per hour of run time, and a realistic daily output is 25–40 gallons.
If water comes out fast, something is wrong: sand is too coarse, the layers were disturbed, or water is channeling down the barrel wall. Slow is the mechanism, not a limitation.
Use the filter consistently. A filter used daily performs better than one used sporadically, because the biological layer depends on continuous feeding.
Maintenance: The Swirl and Dump
Over weeks to months, flow slows as the schmutzdecke thickens. When output becomes impractically slow:
- Drain standing water down to just above the sand.
- Gently swirl the top inch of sand with your hand to suspend accumulated material.
- Scoop out the dirty water.
- Level the sand and refill.
Do not remove sand, do not wash the whole sand bed, and do not disinfect the filter. You are removing excess buildup, not the biological layer. Flow recovers within a day and biological performance within a few days.
After many cleanings the sand bed drops below 20 inches. Add washed sand to restore depth.
Common Mistakes
- Insufficient sand washing. Causes cloudy output and rapid clogging.
- Letting the filter dry out. Kills the schmutzdecke and resets maturation.
- Pouring water directly on the sand. Destroys the biological layer every single use.
- Using sand that is too coarse. Water passes too quickly for treatment.
- Treating filtered water as sterile. Always disinfect before drinking.
Final Thoughts
A biosand filter is genuinely appropriate technology: cheap, repairable, and effective for decades with no consumables. Build it properly, keep it wet, feed it daily, and follow it with boiling or chlorination, and you have a water treatment system that does not care whether the grid is up.
For testing and storing the output, see our guide on how to test and store water for long-term off-grid use.
- Ashiyama water purification plant (1) 07.jpg — 七巫こ, CC0
- Aggregate heaps, sand and gravel quarry, North Cave – geograph.org.uk – 8287208.jpg — Christine Johnstone, CC BY-SA 2.0
- Glass of water ouside.jpg — Kurt Kaiser, CC0
Images via Wikimedia Commons.
Marcus Reid
Founder & Editor, OffGridSage
Marcus founded OffGridSage to bring practical off-grid knowledge together in one place. Guides are built from official and expert sources (NREL, the EPA, the USDA and university extension services), manufacturer documentation and reader feedback, and are updated when information changes.