How to Keep Food Cold Without Electricity: 6 Methods That Actually Work
It is the third day of a summer power outage. Your refrigerator has been silent since Monday morning, and now you are staring at a $200 worth of groceries slowly climbing toward the danger zone. The butter is soft, the milk smells wrong, and the chicken you pulled out for tonight’s dinner is sitting at 55°F. Most American households are one grid failure away from this exact scenario — and if you are building or transitioning to off-grid living, learning how to keep food cold without electricity is not optional, it is foundational.
The problem goes deeper than a temporary power outage. Without a reliable cooling strategy, you are forced into one of two bad habits: buying only shelf-stable food (which gets expensive and monotonous fast), or making daily grocery runs that defeat the entire purpose of self-sufficient living. Spoiled food means wasted money, wasted garden harvests, and a real safety hazard if you consume something that has crossed the threshold. Foodborne illness hits harder when you are 30 miles from the nearest urgent care clinic.
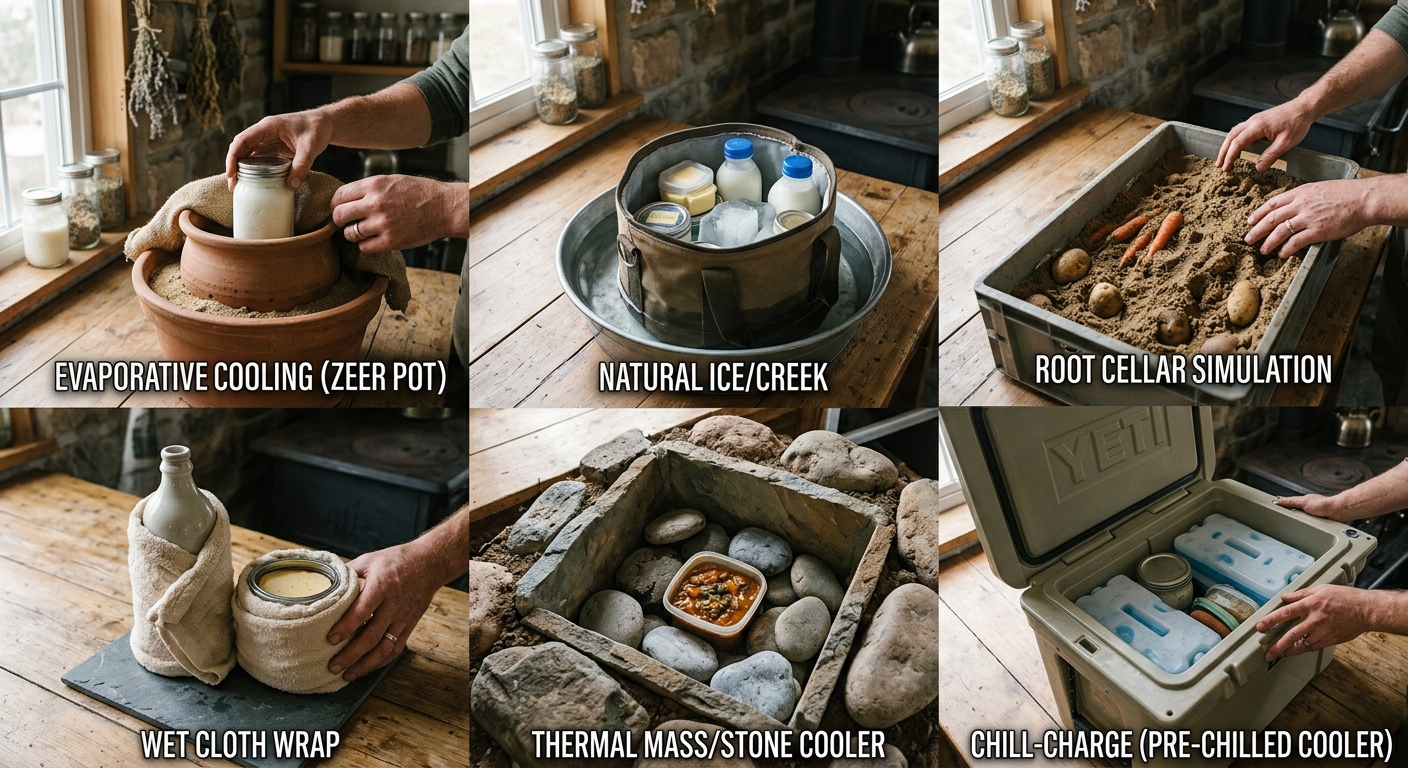
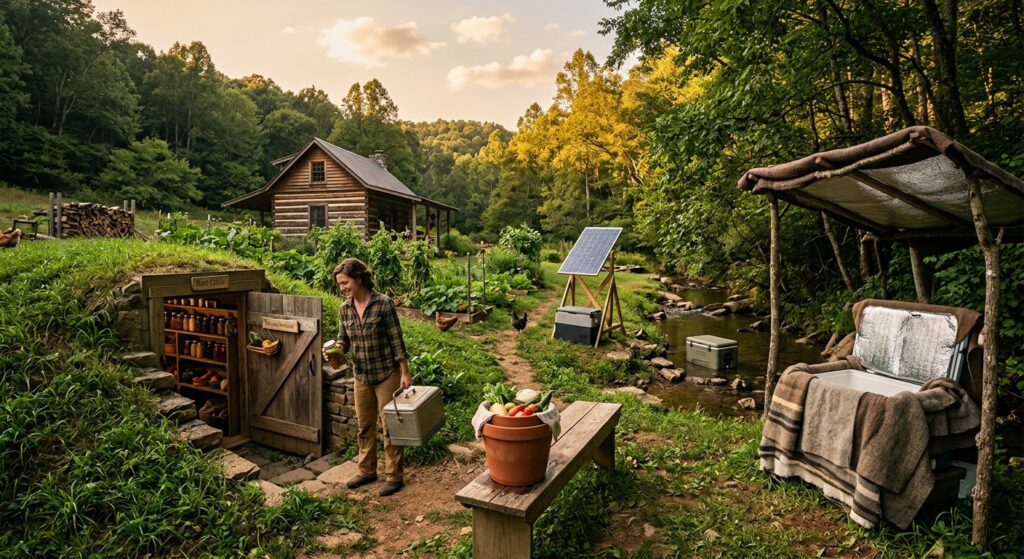
This guide covers six proven methods for keeping food cold without electricity — from a zero-cost DIY zeer pot you can build in an afternoon, to 12V DC compressor fridges that run quietly off a solar setup. You will get step-by-step building instructions, a full cost and effectiveness comparison table, tips on which foods spoil first and how to prioritize them, and real numbers so you can plan your setup rather than guess at it.
Quick Answer: Best Ways to Keep Food Cold Off-Grid
There is no single best method — the right solution depends on your climate, budget, and how long you need to store food. Here is the short version:
- Zeer pot (pot-in-pot evaporative cooler): Free to $10, works best in dry climates, drops temps 20–30°F below ambient
- Root cellar: $500–$5,000 to build, maintains 32–50°F year-round passively, best for long-term bulk storage
- Spring house / cool water submersion: Near-free if you have a spring or stream, holds 40–55°F reliably
- Insulated cooler with ice blocks: $30–$80 for a quality cooler, ice blocks last 3–5 days vs. 12–24 hours for cubed ice
- Propane or absorption refrigerator: $800–$2,000, runs on propane or 12V/120V, no compressor noise
- 12V DC compressor fridge: $300–$900, highly efficient on solar, best all-around off-grid refrigeration
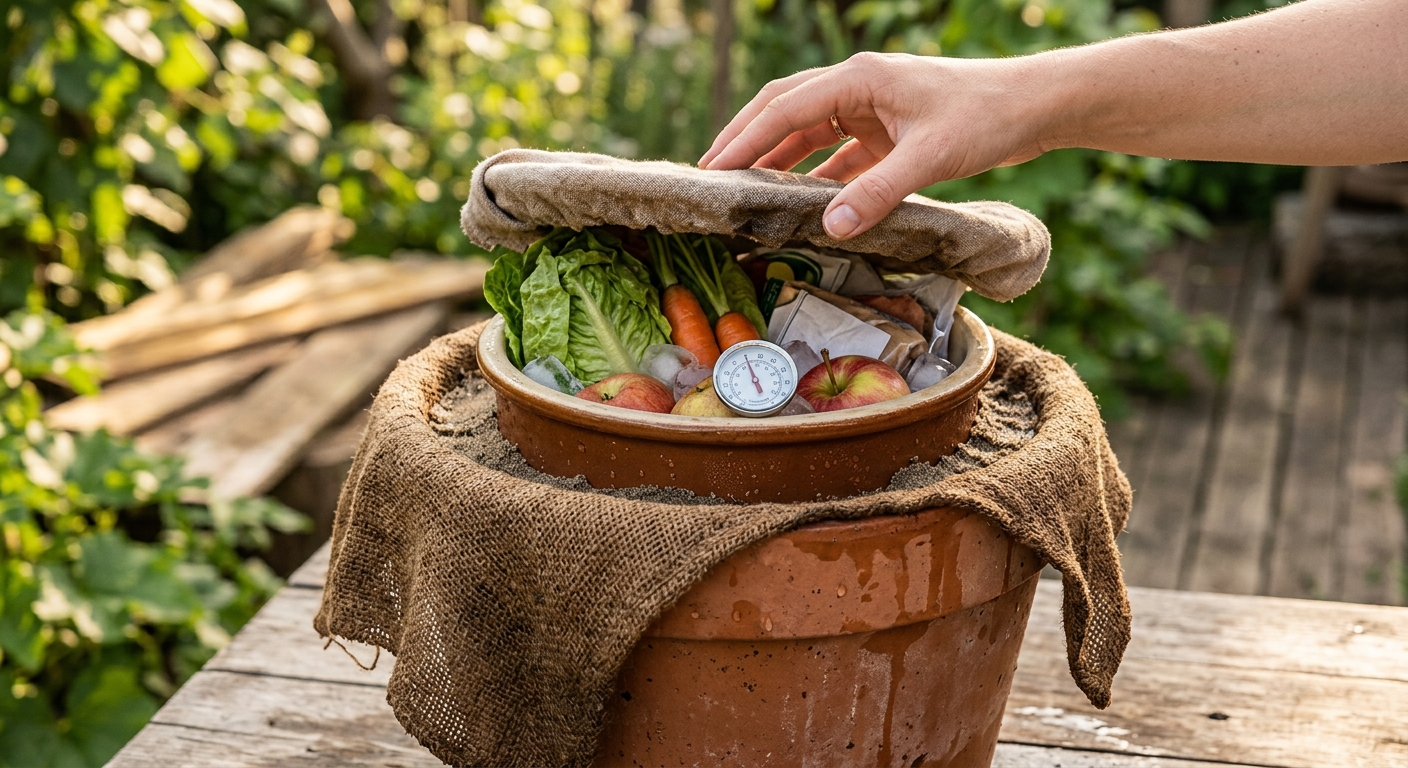
Method 1 — The Zeer Pot: Free Evaporative Cooling
The zeer pot is one of the oldest refrigeration technologies on earth, developed in ancient Egypt and still used across rural Africa. It works on a simple principle: evaporation pulls heat out of whatever it surrounds. When water evaporates from wet sand between two clay pots, the inner pot drops dramatically in temperature — often 20 to 40 degrees Fahrenheit below outside air temperature in low-humidity conditions.
How to Build a Zeer Pot (Step-by-Step)
You need two unglazed clay pots — one that fits inside the other with at least 1.5 to 2 inches of gap all around. Unglazed terracotta pots from a garden center work perfectly. You also need coarse sand, water, and a wet cloth or burlap to cover the top.
- Seal the inner pot’s drainage hole with a cork or small stone and mortar so water cannot seep into your food storage area.
- Add 1 inch of damp sand to the bottom of the outer pot to elevate the inner pot and create an even gap on all sides.
- Center the inner pot inside the outer pot and fill the gap between the two walls completely with coarse sand. Do not pack it — leave it loose enough to hold moisture.
- Saturate the sand with water until it will not absorb any more. You are looking for consistently moist, not waterlogged.
- Place food items inside the inner pot. Wrap leafy greens and vegetables in damp cloth for extra cooling contact.
- Cover the top with a wet burlap sack or thick wet cloth. This prevents evaporation from the food itself while keeping the top cool.
- Re-wet the sand twice daily — morning and evening — especially in dry heat. The drier and windier the conditions, the more often you need to add water.
- Place in shade with good airflow. A covered porch with a breeze is ideal. Indoors with a fan blowing across it also works well.
Realistic expectations: In Phoenix, Arizona (10% relative humidity on a summer day), a well-built zeer pot can hold 45–50°F when it is 100°F outside. In Houston, Texas (80% humidity), the same pot might only cool to 75–80°F — not cold enough to safely store meat. Know your climate before relying on this method alone.
Best foods for a zeer pot: Root vegetables, apples, leafy greens, herbs, eggs, hard cheese, and cooked grains. Do not rely on it for raw meat or dairy milk in humid climates.
Zeer Pot Cost Breakdown
Two terracotta pots (8-inch and 12-inch): $8–$15 at a garden center. Sand: free if you have it. Total build cost: under $15, often zero if you repurpose existing pots.
Method 2 — Root Cellars: The Oldest Off-Grid Refrigerator
A root cellar uses the thermal mass of the earth itself to maintain stable temperatures between 32°F and 50°F year-round. The ground at 8 to 10 feet below the surface stays within a few degrees of the average annual temperature for that region — about 50–55°F in most of the continental United States. With a little venting strategy and proper insulation at the entrance, you can fine-tune this range significantly.
Root Cellar Temperature Zones
The ideal root cellar sits at 32–40°F with 90–95% humidity for most root vegetables, apples, and cabbage. Potatoes prefer 38–40°F. Squash and pumpkins want it slightly warmer — 50–55°F — and drier, around 60–70% humidity. Many homesteaders build partitioned cellars or use separate corners to achieve different micro-climates within the same structure.
A basic dug-out root cellar under an existing structure can cost as little as $500 in labor and materials if you do the excavation yourself. A professionally built walk-in root cellar with poured concrete walls, proper venting pipes, and an insulated door typically runs $3,000 to $5,000. The payback in preserved food — especially if you grow a large garden — can be significant within the first two or three seasons.
Critical venting tip: Install two vent pipes — one near the floor (intake) and one near the ceiling (exhaust). This convection loop lets you bring in cool night air during fall and winter to drop temperatures, then close the vents during hot summer days to hold the cold. Without proper venting, a root cellar in a warm climate can get too warm by midsummer.
Method 3 — Spring Houses and Cool Water Submersion
Before mechanical refrigeration, spring houses were the standard food preservation tool on American homesteads. The principle is straightforward: route cold spring or stream water through a small stone or wood structure, and use the flowing water to keep crocks, jars, and containers at 40–55°F continuously.
If you have access to a spring or a reliable cold stream on your property, this is one of the most effective and lowest-cost cooling methods available. A basic spring house — four walls, a roof, and a channel for water flow — can be built for $200 to $800 in materials. The water does all the work.
Water submersion for short-term cooling: Even without a dedicated spring house, submerging sealed containers in a cold stream or spring pool is highly effective. Glass canning jars work well. A stream running at 48°F in June will keep butter, milk, and soft cheeses in excellent condition for 24 to 48 hours. Use a mesh cage or milk crate weighted with rocks to keep containers submerged and secure against current.
Food safety note: Ensure containers are fully sealed — no contact between spring water and food. Waterborne pathogens are a real concern. Glass jars with tight lids or stainless steel containers are the right tools here.
Method 4 — Insulated Coolers: Ice Blocks vs. Cubed Ice
A high-quality insulated cooler is not a permanent solution, but as part of a rotation system on an off-grid homestead — especially during transitions, travel, or high-production garden seasons — it is incredibly practical. The key insight most people miss is that ice blocks last dramatically longer than cubed ice.
A single block of ice (typically 10 lbs) cut from a frozen container will last 3 to 5 days in a well-insulated cooler. A bag of 10 lbs of cubed ice from a gas station lasts 12 to 24 hours in the same cooler. The reason is surface area: crushed and cubed ice has far more surface area exposed to warm air, so it melts far faster. If you have freezer access periodically — a neighbor with grid power, a community freezer co-op, or a solar-powered chest freezer — you can freeze your own blocks in gallon jugs or plastic containers and rotate them out every few days.
Best cooler brands for off-grid use: Yeti Tundra 45 ($350), RTIC 45 ($200), and Lifetime 55-Qt ($60 at Walmart) are the most commonly cited by homesteaders for their ice retention. The Lifetime cooler consistently surprises people — at a fraction of the cost of a Yeti, it holds ice for 3 to 4 days when pre-chilled and packed correctly.
Cooler management tips: Pre-chill the cooler itself before packing by leaving ice in it overnight. Fill 75% of the space with food and ice — air is your enemy. Keep the cooler in shade, and do not open it more than twice a day. Line the bottom with block ice, food in the middle, and cubed ice on top to fill voids.
Method 5 — Propane and Absorption Refrigerators
Absorption refrigerators use heat — from a propane flame, electric heating element, or both — to drive a refrigeration cycle with no moving parts and no compressor. They are whisper-quiet, run reliably for years, and are a proven technology in RVs, cabins, and off-grid homesteads across America.
Popular brands include Dometic (formerly Electrolux), Norcold, and EZ Freeze. A Dometic 8 cu ft propane/electric 2-way fridge runs about $900–$1,200. The EZ Freeze 10 cu ft propane-only fridge is highly rated by off-grid users and costs around $1,400–$1,800 new.
Propane consumption is the main ongoing cost. A typical 10 cu ft absorption fridge burns roughly 1.5 lbs of propane per day, or about one standard 20 lb propane tank every 13 days. At $25 per fill, that is roughly $55–$65 per month in fuel costs — comparable to running a grid-powered fridge when electricity is factored in.
Key limitation: Absorption fridges must be level — within 3 degrees side-to-side and 6 degrees front-to-back — to function properly. They also cool more slowly than compressor fridges and struggle in ambient temperatures above 90°F unless well-ventilated.
Method 6 — 12V DC Compressor Fridges: Best All-Around Off-Grid Option
If your off-grid setup includes solar panels and a battery bank, a 12V DC compressor fridge is almost certainly your best long-term refrigeration solution. These units use the same sealed compressor technology as household refrigerators, but optimized to run efficiently on 12 or 24 volts DC.
Best brands for off-grid use:
- Iceco VL45: 45 liters, dual-zone (fridge + freezer), draws 30–45W average, costs $350–$450. Extremely popular in the van life and off-grid community.
- BougeRV 12V Fridge: Available in 23L to 53L sizes, $200–$400, reliable compressor performance, good price-to-quality ratio.
- Dometic CFX3 55: 55L, dual zone, runs on 12V/24V/120V, costs $750–$900. Premium build quality, used by serious off-gridders and overlanders.
- ARB Classic Series II: Australian-made, extremely rugged, 63L, draws 4.5A at 12V average. Around $700–$850. Popular among homesteaders in hot climates for its performance above 90°F.
Average daily power draw for a quality 12V compressor fridge is 30–60 watt-hours per hour of running time, but the compressor cycles on and off — actual daily consumption is typically 150–300 Wh/day depending on ambient temperature and how often you open it. A 200Ah 12V lithium battery bank and a 200W solar panel can comfortably power one of these fridges year-round in most US climates.
Comparison Table: 6 Off-Grid Cooling Methods
| Method | Upfront Cost | Ongoing Cost | Temp Range | Effort Level | Best For | Climate Limitation |
|---|---|---|---|---|---|---|
| Zeer Pot | $0–$15 | Water only | 45–70°F (ambient dependent) | Low daily re-wetting | Vegetables, eggs, dry climates | Ineffective above 60% humidity |
| Root Cellar | $500–$5,000 | Near zero | 32–55°F year-round | High to build, low to maintain | Bulk produce, root veg, canned goods | Requires deep enough frost line |
| Spring House | $200–$800 | Near zero | 40–55°F | Medium to build, low to maintain | Dairy, jars, crocks | Requires spring or cold stream |
| Cooler + Ice Blocks | $60–$350 | $20–$60/month (ice) | 34–45°F | Medium (rotation required) | Short-term, travel, transition | Requires periodic ice access |
| Propane/Absorption Fridge | $900–$1,800 | $55–$65/month (propane) | 34–40°F | Low once installed | Full household, no solar needed | Struggles above 90°F ambient |
| 12V Compressor Fridge | $300–$900 | $0–$5/month (solar) | 32–50°F (adjustable) | Low — plug and run | Solar setups, full-time off-grid | Requires 12V/24V power source |
Food Prioritization: What Spoils First and How to Plan Around It
Understanding which foods hit the danger zone fastest lets you triage your cooler or cold storage space rather than treating everything equally. The USDA defines the food danger zone as 40–140°F — bacteria double roughly every 20 minutes in this range. Here is how to rank your food by urgency when cooling resources are limited:
High Priority — Spoils Within Hours
- Raw poultry and seafood: Discard or cook within 2 hours above 40°F. No exceptions.
- Raw ground meat: Same rule. Ground beef, pork, and lamb spoil faster than whole cuts because bacteria surface area is massively increased by grinding.
- Cut melon and leafy salads: Once cut and above 40°F, bacterial growth is rapid. Use or discard within 2 hours.
- Opened dairy (milk, soft cheese, yogurt, cream): Goes bad within 4–6 hours above 40°F.
Medium Priority — Holds 24–48 Hours
- Whole raw meat (steaks, roasts, chops): Holds 24–36 hours at 50–55°F before quality degrades significantly. Cook and eat first.
- Hard-boiled eggs: Good for 24 hours unrefrigerated. Fresh uncracked eggs can go 2–3 weeks at room temperature if unwashed.
- Leftover cooked food: Use within 24 hours if above 50°F.
Low Priority — Fine for Days or Weeks Without Refrigeration
- Root vegetables: Carrots, beets, turnips, potatoes — store in a cool, dark, dry location for weeks.
- Hard cheeses (waxed or aged): Parmesan, aged cheddar, gouda — can last weeks at room temperature if uncut. Once cut, eat within days.
- Fermented foods: Sauerkraut, kimchi, pickles in brine — the acid environment is self-preserving. No refrigeration needed for sealed jars.
- Whole fresh eggs (unwashed): The natural bloom (cuticle) on fresh farm eggs protects them for 2–4 weeks at 65–75°F.
- Butter: Salted butter holds 1–2 weeks at room temperature in a covered dish. Unsalted butter should be refrigerated.
Common Mistakes to Avoid
- Placing warm food directly into a zeer pot or cooler: Hot food raises the internal temperature and ruins everything else. Always let food cool to room temperature first.
- Opening the cooler constantly: Every opening introduces warm air and costs 30–45 minutes of ice life. Plan what you need before opening.
- Mixing raw meat with produce: Cross-contamination risk. Store raw meat in sealed containers at the bottom of any cooler or cold storage.
- Ignoring humidity in a root cellar: Too dry and your root vegetables shrivel. Too wet and mold takes over. A hygrometer ($15 at any hardware store) is essential equipment for any root cellar.
- Relying on smell alone: Many pathogenic bacteria (Salmonella, E. coli) produce no detectable odor. When in doubt, throw it out.
Passive Cooling Using Thermal Mass
Even without any dedicated cold storage system, you can significantly extend food life by leveraging thermal mass inside your home. Thick stone floors, concrete countertops, and tile surfaces stay several degrees cooler than wood or laminate surfaces. Storing food in a sealed container pressed against a north-facing stone wall or on a tile floor in the coolest part of your home can add 6–12 hours of safe storage time compared to leaving food on a warm countertop. This is not refrigeration — but in a pinch, it is a meaningful buffer.
The Bottom Line
Learning how to keep food cold without electricity is one of the highest-leverage skills you can develop for off-grid living. The right method depends entirely on your setup: a zeer pot costs almost nothing and works beautifully in the arid Southwest; a 12V compressor fridge is the best investment you can make if you have solar panels; a root cellar pays dividends for decades if you grow a significant garden. Most established homesteaders use two or three methods in combination — a 12V fridge for daily perishables, a root cellar for bulk produce and long-term storage, and a quality cooler as a backup and overflow solution during harvest season.
Start with what you have and what your climate allows. Build the zeer pot this weekend — it costs nothing and teaches you the fundamentals of evaporative cooling. Then plan your root cellar or 12V fridge upgrade as your setup matures. Every step you take toward food cold storage independence is one less vulnerability in your off-grid system.
Have questions about your specific situation? Drop them in the comments below — we read every one. If this guide helped you, share it with someone planning their off-grid setup.